
Aw, micro-ATX PC… you never get the love you deserve! You’re always seen as the middle child between ATX and mini-ITX.
Well not today! Let’s get into some builds.
The Odd One Out?
So “the odd one out” has sometimes been a misconception of this board size. The logic behind the accusation is as follows: if you want proper motherboard capabilities, you’d go with a full ATX; and if you wanted a small PC, you’d go with mini-ITX. Well, in recent years (especially in this particular year), that has started to shift as professional users want compact in-home solutions to match their larger in-office machines.
Mini-ITX often falls short by having less RAM slots, and usually only one main PCIe connection. Micro-ATX tends to maintain the RAM slots, and usually comes with 2 main PCIe slots to boot. It’s a bit of a generalisation, though, because (as you will see from our builds) there is some overlap, which can cause confusion!
We’ve decided to use this article to take a look at two builds with micro-ATX boards at their heart: an entry-level build, and a high-specification build. Although these builds have very different purposes, it should hopefully show just what you can do with your money these days in the world of micro-ATX PC building.
The Cost-Effective Micro-ATX PC
So, what we’re going for here is an inexpensive build which is low on power requirements. This will allow us to get away with more simple cooling in a compact package, while still having a build that’s fully qualified for browsing the web, streaming media, and accessing those all-important video calls.
Now, one thing we’re not including in this (for cost reasons) is a dedicated GPU. The integrated chip is sufficient for your ‘Netflix and chill’ (or your ‘Zoom and stress out’, as the case may be). However, if you wanted to do some 1080p gaming on low/medium settings with this build, consider spending $85 on something basic like a GT 1030. True, it will never set the world on fire—but it should get around 30fps on higher settings at 1080p, so it’s a solid option for for the price when finishing off a cheap gaming setup.
Enough preamble—let’s get into the parts that are in the build!
CPU: Intel Pentium Gold G5400T

A Pentium CPU in 2020… madness, I hear you cry! Yet this dual-core CPU has a nice option available, even if the motherboard and CPU don’t have standard overclocking capabilities: that is (despite this having an already low 35W TDP), you have the option of setting a low-power 25W mode at 2.1GHz. So, if you are considering just having this setup for streaming and browsing, setting the CPU to this is fine and saves on needing your cooler running at maximum strength. Not bad for $75.
CPU Cooler: Thermaltake UX100
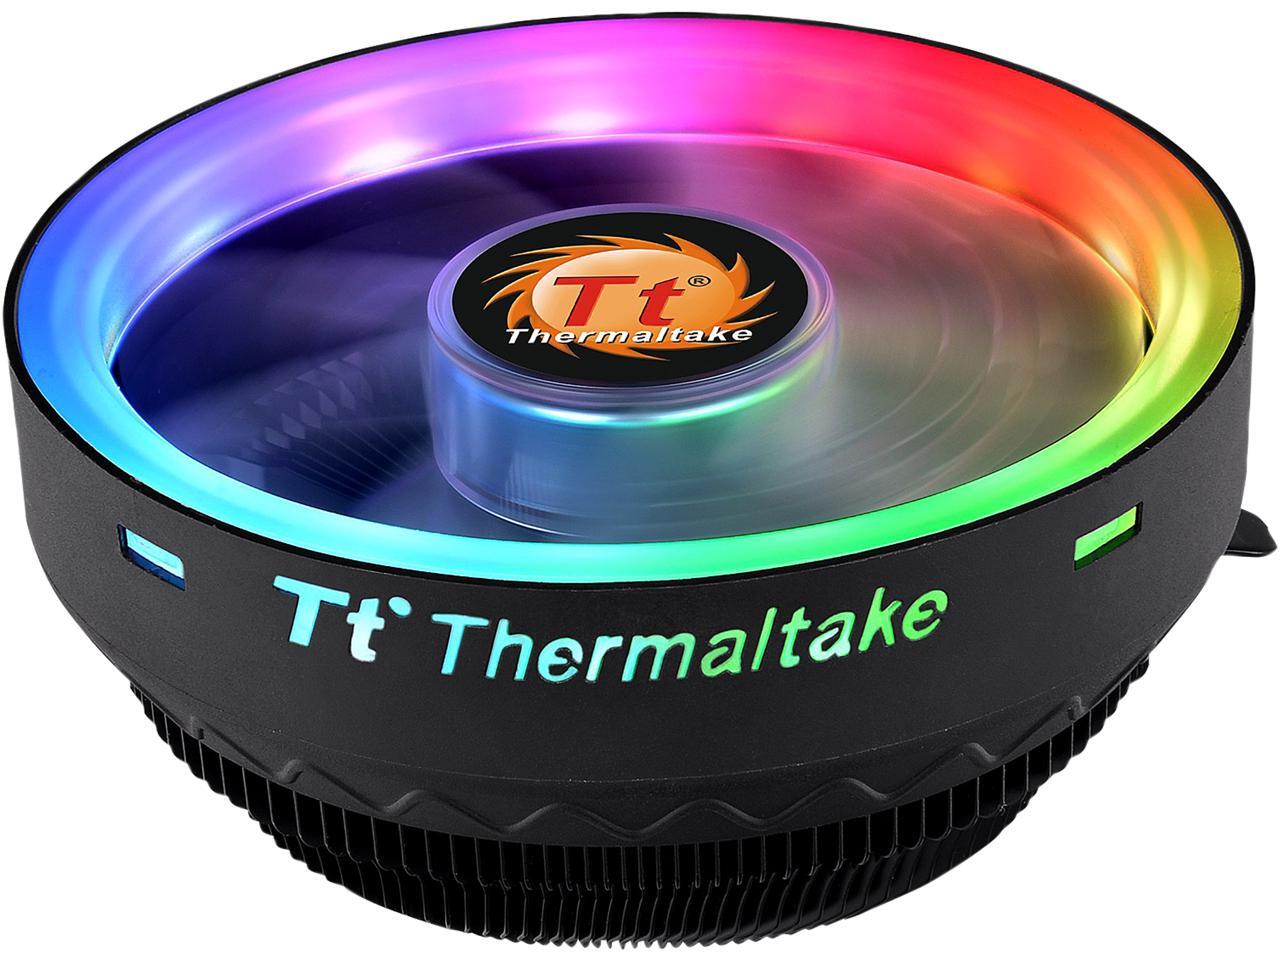
Speaking of coolers, we’ve gone with this neat low-profile option from Thermaltake. It does the job of cooling this particular CPU just fine, and we get RGB. What’s not to like?
RAM: G.Skill 8 GB DDR4 2400MHz CL15
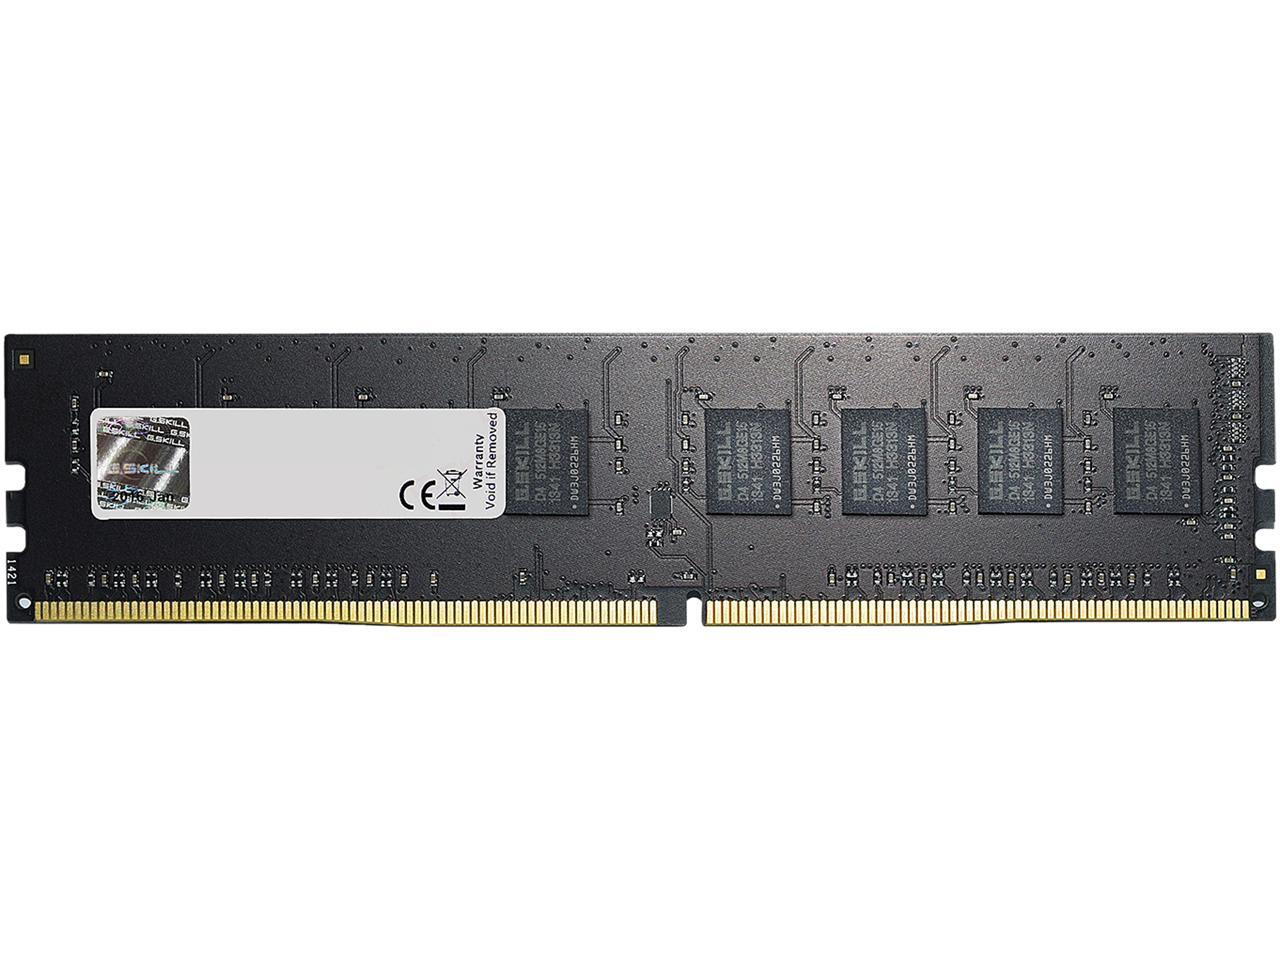
We’re going with a single stick of relatively entry-level RAM here. This is mainly because, although the board can take a little bit faster than this, the CPU only supports up to this speed as standard. As we can’t apply any XMP profile to the setup in the motherboard, we’re going with a solid out-of-the-box option with a single 8GB 2400MHz stick.
Storage: Western Digital Caviar Blue 1TB
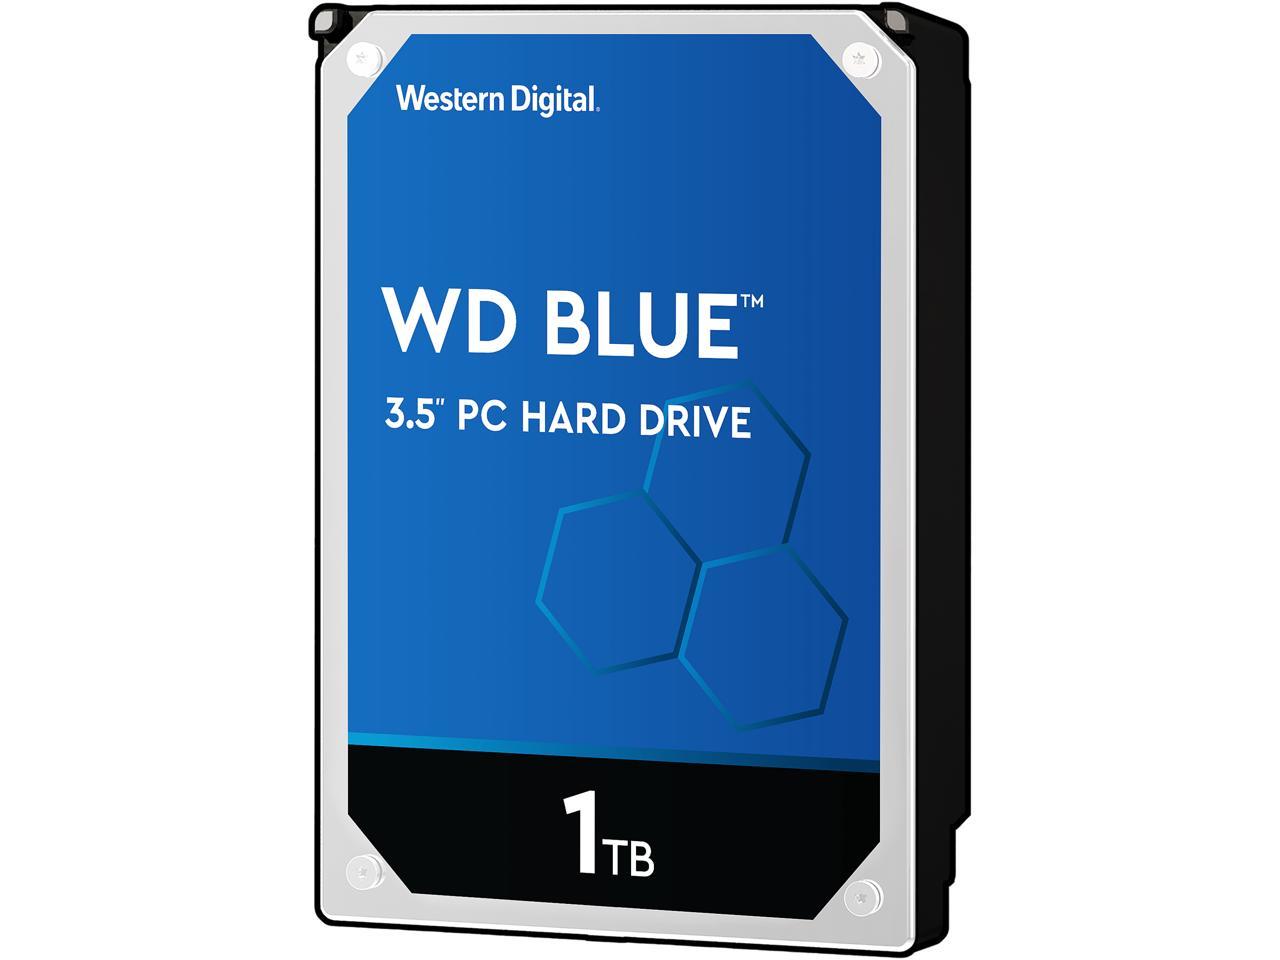
The WD Blue drives are a perfect inexpensive option, as they’re well-designed to be simply thrown into small form factor PCs. No fuss, just a reliable 1TB HDD.
Motherboard: ASRock H310CM-HDV Micro ATX
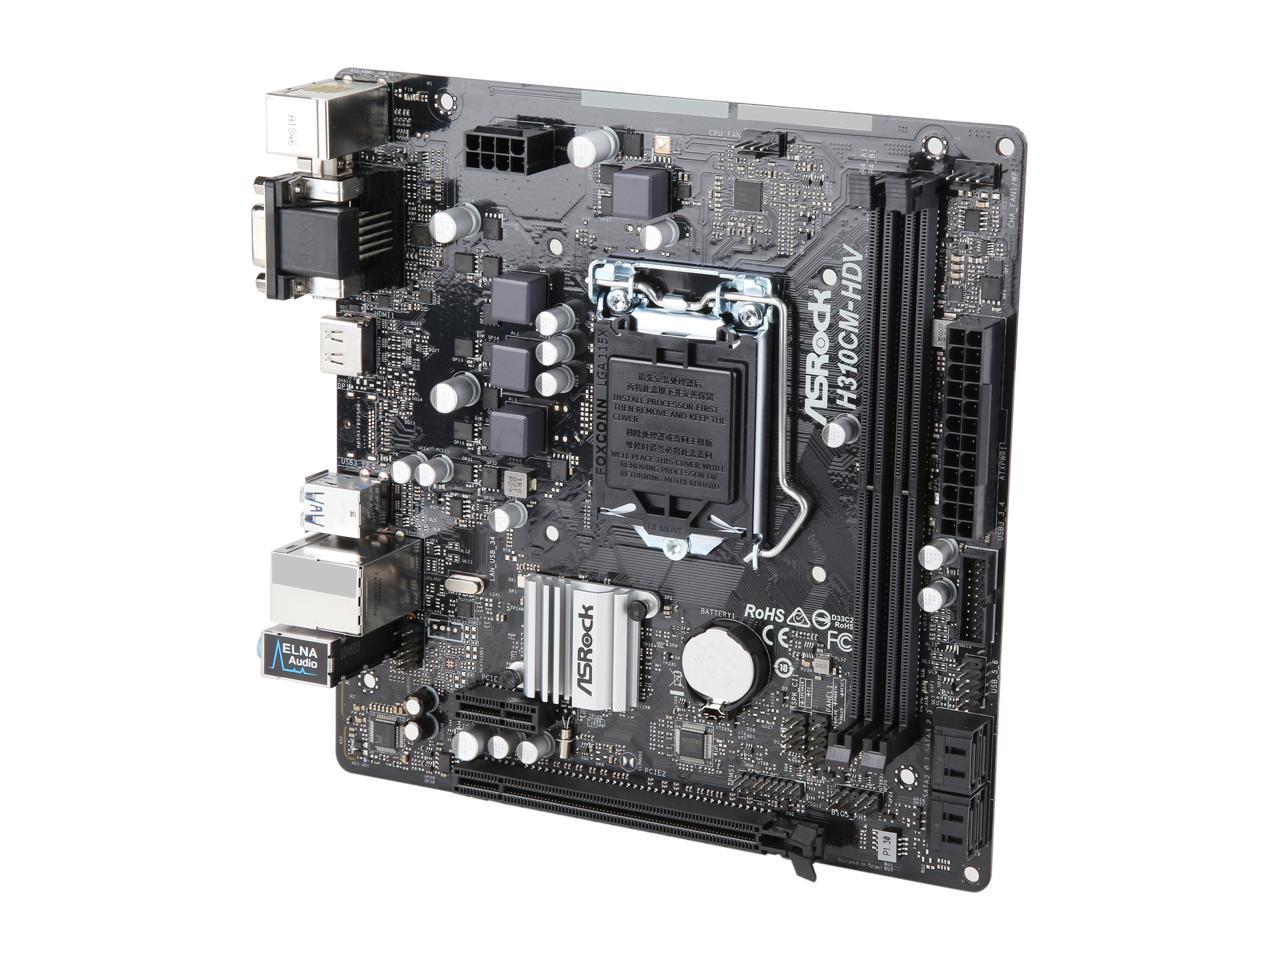
So, the H310 boards are designed to be budget setups in regards to overclocking (i.e. you don’t get the option). You can still set the low-power mode on the CPU if you wish, otherwise it’s just ‘plug in your components and go!’ We get a decent enough set of I/O features, including support for 4K Ultra HD (UHD) playback with the HDMI 1.4 port.
PSU: EVGA BQ 500 W 80+ Bronze Certified Semi-modular
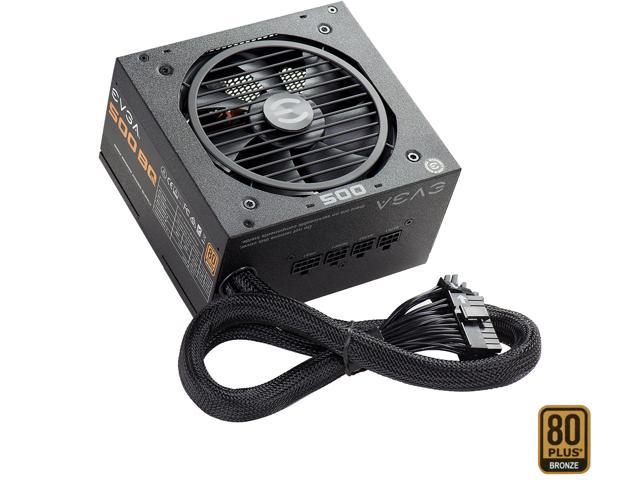
So, mainly because we’re going with such a simple build here, we’ve opted to spend a little more on a power supply to get the semi-modular flexibility (makes small form factor building much less of a hassle). 500W is seriously overkill for power on this build, even if you add in the GT 1030 graphics card mentioned above. But the 80+ bronze certification and semi-modular design make the little extra cost worth it!
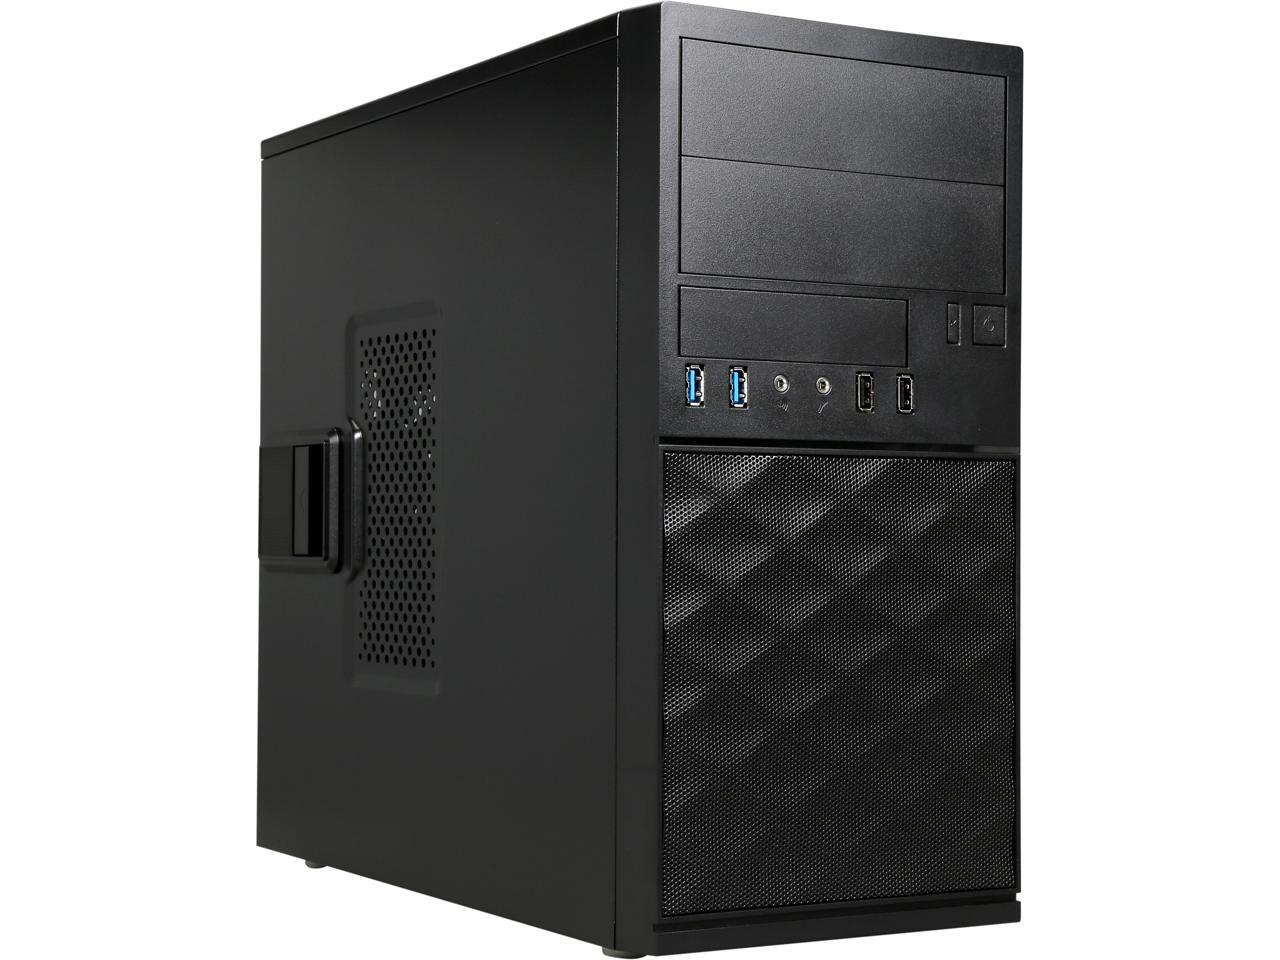
Case: Cooler Master MasterBox Q300L MicroATX Mini Tower
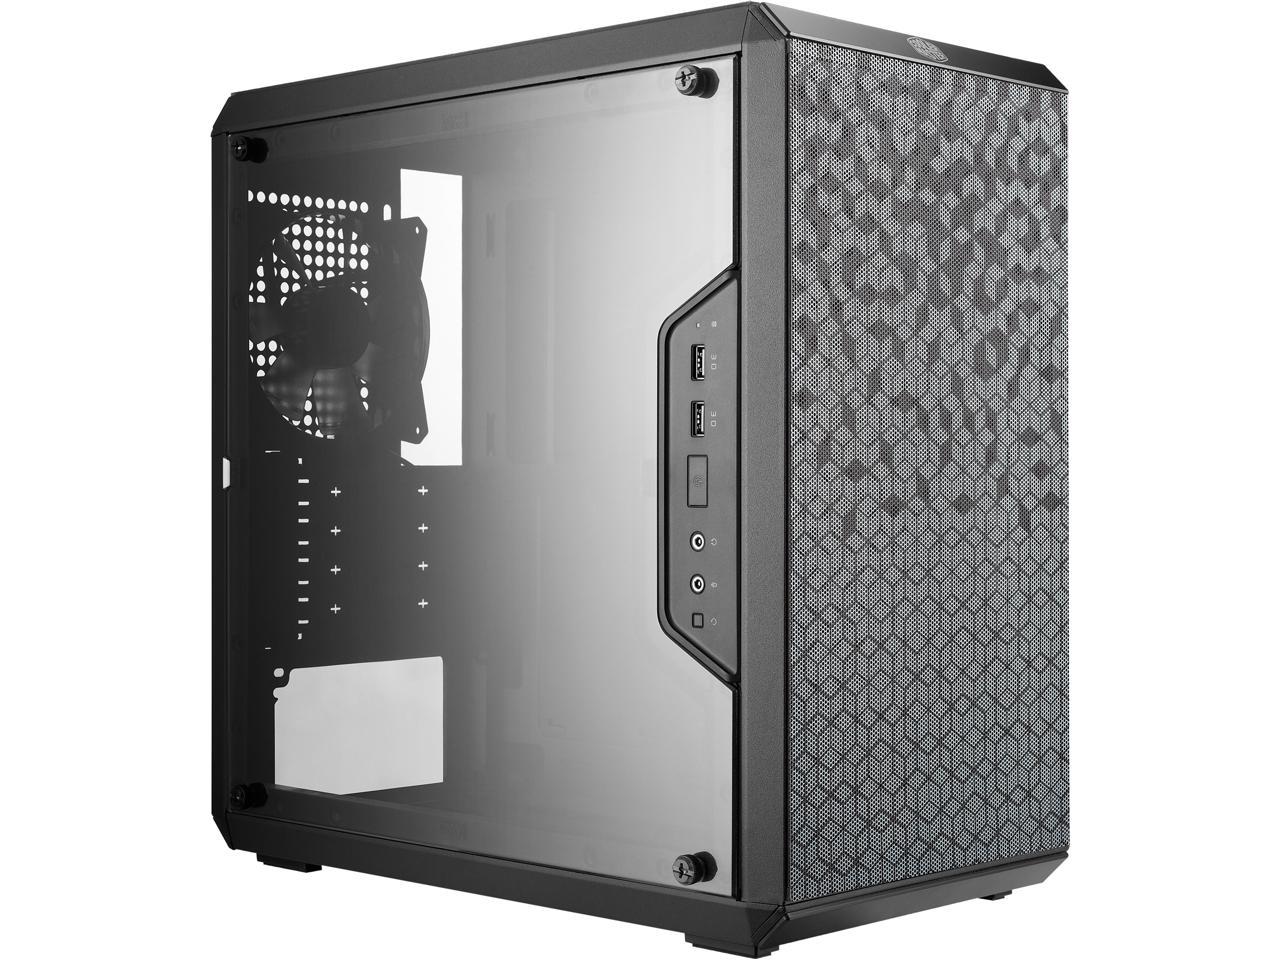
Talk about simple-yet-effective design! Cooler Master designed this to be able to be sitting horizontal or vertical, and—to add to that—the I/O panel can be moved to 6 different places on the case for maximum flexibility for your own setup. This makes it great if you want to have the little build showing itself off through the side panel (without USB cables and such hanging out). Yet it also has solid design choices, like extra space behind the motherboard tray for hidden cable management.
All told, it’s an inexpensive, yet well-thought-out case for finishing off the build.
Total PC Build Cost: $330
All of this for just over $300 isn’t bad at all! Even if you go with the optional GT 1030 graphics card as an extra for some entry-level 1080p gaming, you’re still only talking $415, which isn’t bad whichever way you look at things.
Yes, this build isn’t reaching for the stars, yet you get a nice functional setup in a rather nice case with quality components. This build would be equally at home sitting next to a TV or a desk, and wouldn’t look awfully out-of-place.
But what if you want a professional setup for work and play at home in these strange times? Well, for that, let’s get onto our next build!
The Pro-User Micro-ATX PC
The aim of this build is to act as a capable tool for the at-home professional. Be you editing photos, rendering videos, or setting the work aside with some high-tier gaming, this build has the performance to back you up!
No spoilers, but this build is… something else. Let’s get into the parts!
CPU: AMD Threadripper 2970WX
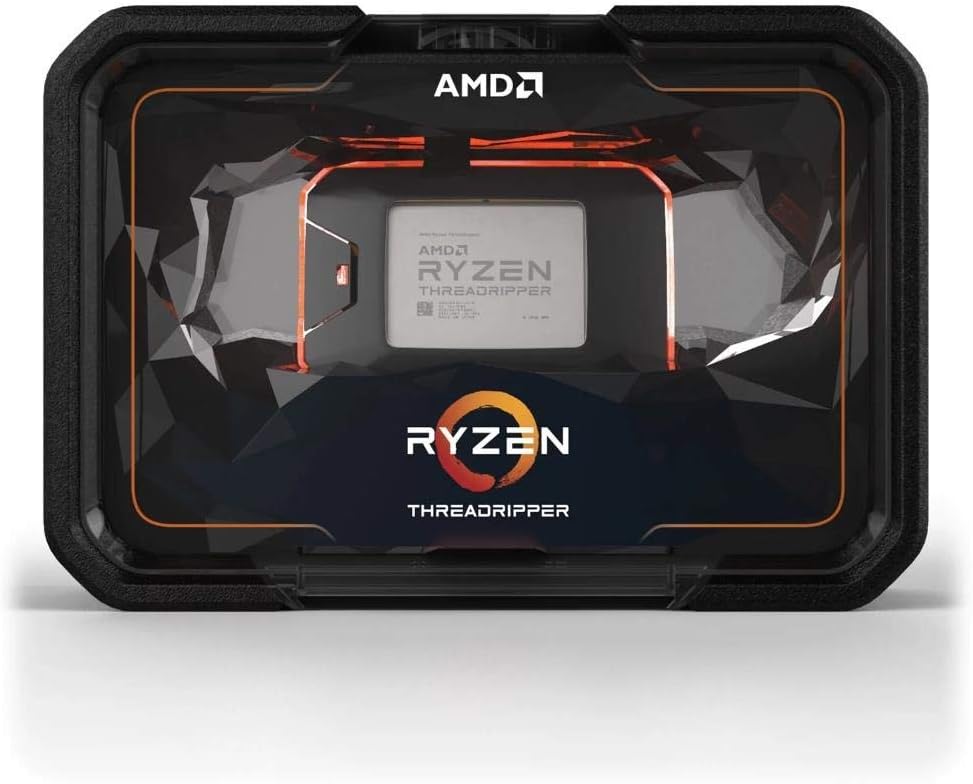
The main chunk of cash spent on the build resides right here, in a mighty 24-core/48-thread Threadripper. This is a seriously high-end piece of hardware which will cover you for damn near any professional task you can think to throw at it. Such a monster.
Yes, this is a 2nd-generation Threadripper, rather than the newer 3960X—which does have higher boost clocks (for more heat, mind you). But it’s not the heat that’s dictating this choice; it’s the fact that the 3rd-generation Threadrippers use a different socket design, and there are no micro-ATX boards available for it at the time this article is being written. Sad times.
That being said, we’re still getting a terrific chip. And the newer CPU is over $200 more than this one, which is money we can use elsewhere in the build!
CPU Cooler: Noctua NH-U9 TR4-SP3
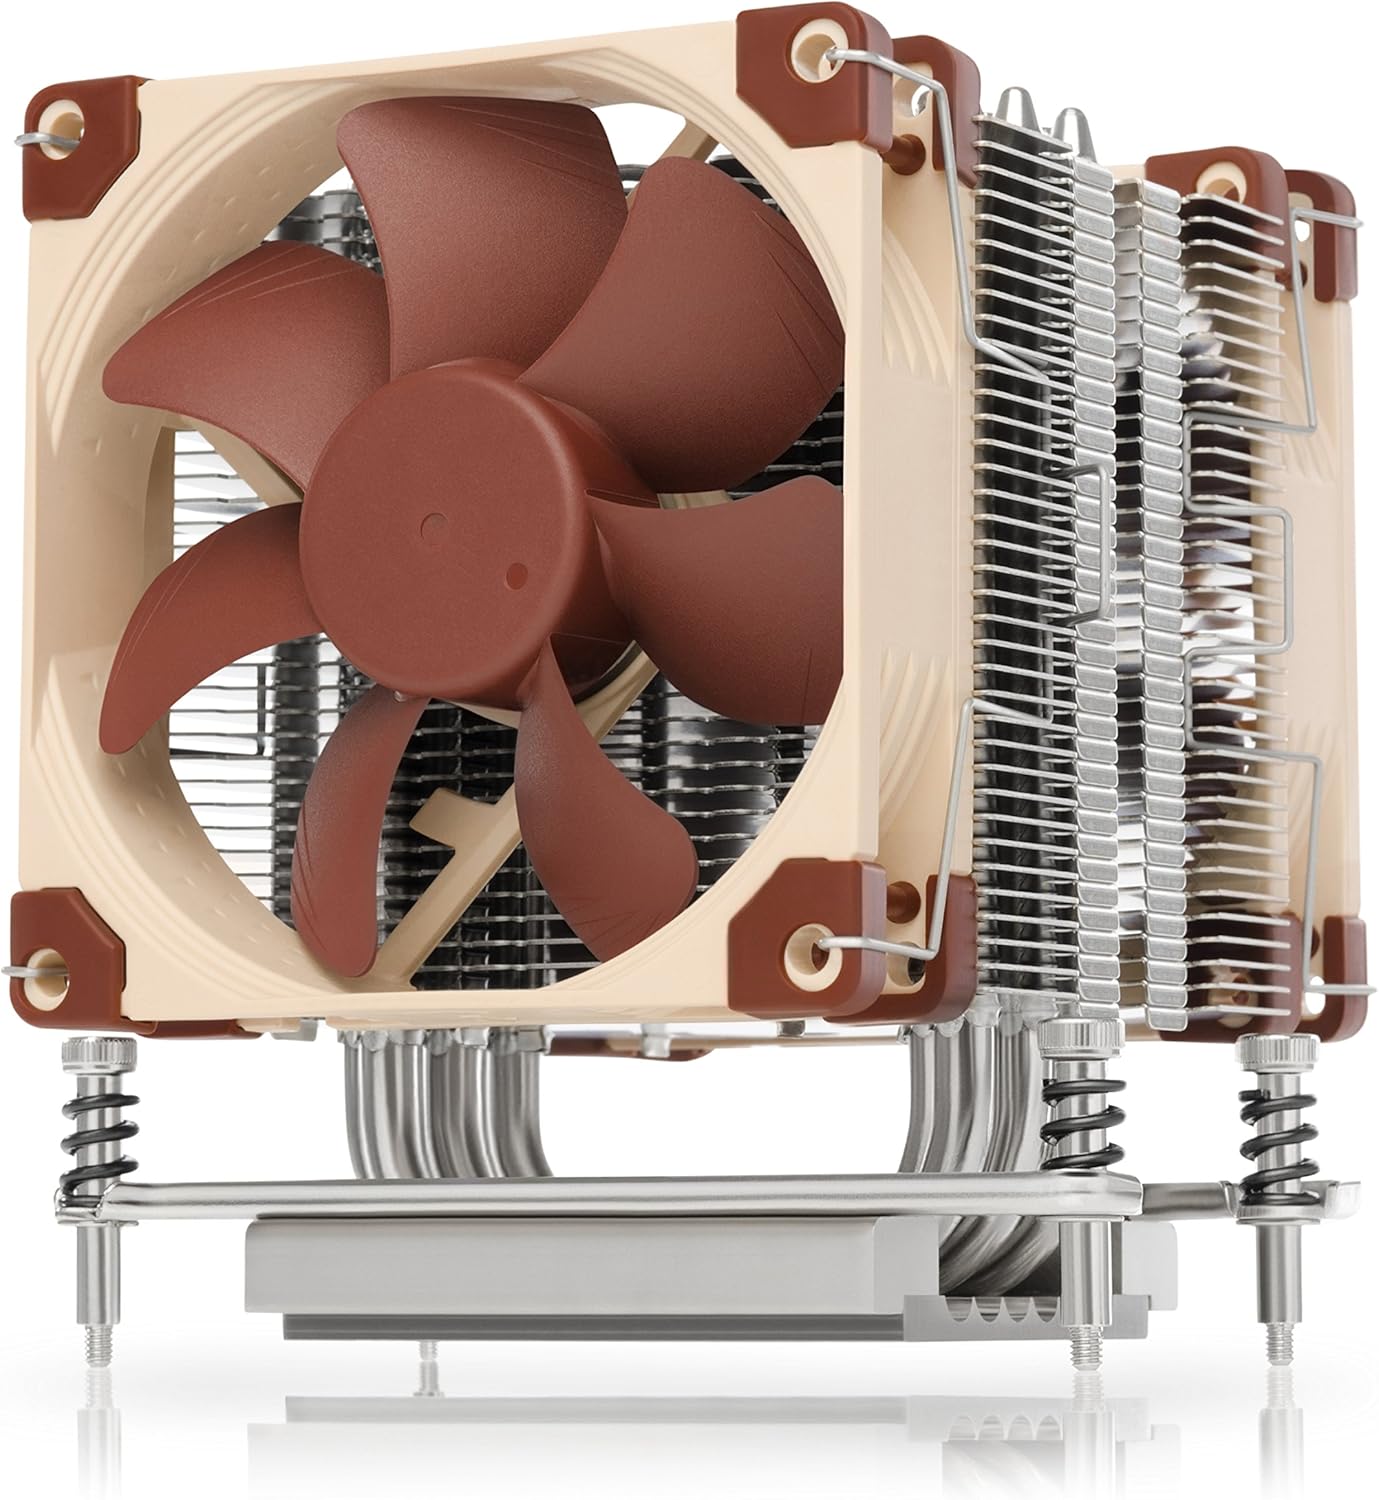
Specially re-designed for Threadripper, this compact Noctua cooler is great for what will end up becoming a very understated PC build relative to its power! Although it is using smaller 92mm fans, the aim here is for efficiency when it comes to heat dissipation. That’s something this unit does rather well! Besides, as you’ll see with the case setup, pushing air through the system will not be a problem.
Graphics Card:
Option 1: Asus GeForce RTX 3080
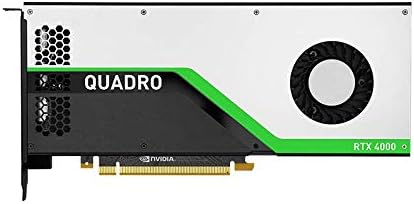
Option 2: PNY Quadro RTX 4000
“Chris, why the options?” I hear you ask. Well, this comes down to what you’re going to be using the build for, really.
If it’s just raw compute tasks or 3D animation/modelling work, the RTX 4000 is for you. Among other features, it has some unique floating point compute options which simply aren’t available on standard consumer-grade GPUs.
However, if you want to do some of that kind of work—but then a lot of gaming and/or streaming too—the RTX 3080 is your pick.
RAM: Kingston HyperX Predator 32 GB (2 x 16 GB) DDR4 3000MHz CL15
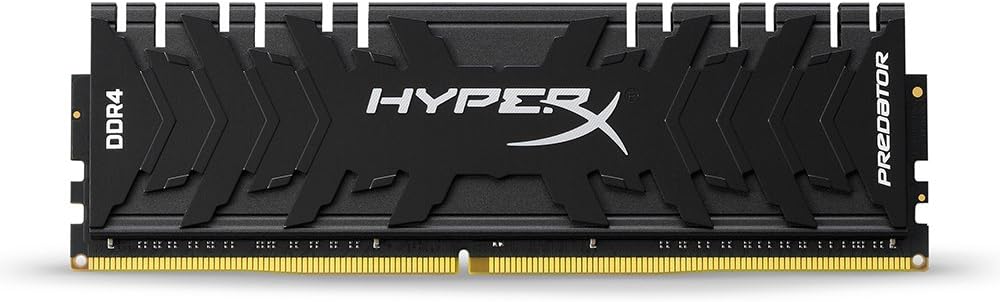
We’re going with a 3000MHz kit because it’s one of the more standard speeds we can get for Threadripper without spending a major fortune. 32GB is plenty for the vast majority of tasks. However, consider swapping this out to a 64GB kit if you feel your personal workflow could benefit from more RAM.
Storage 1: Samsung 970 Evo 500GB M.2
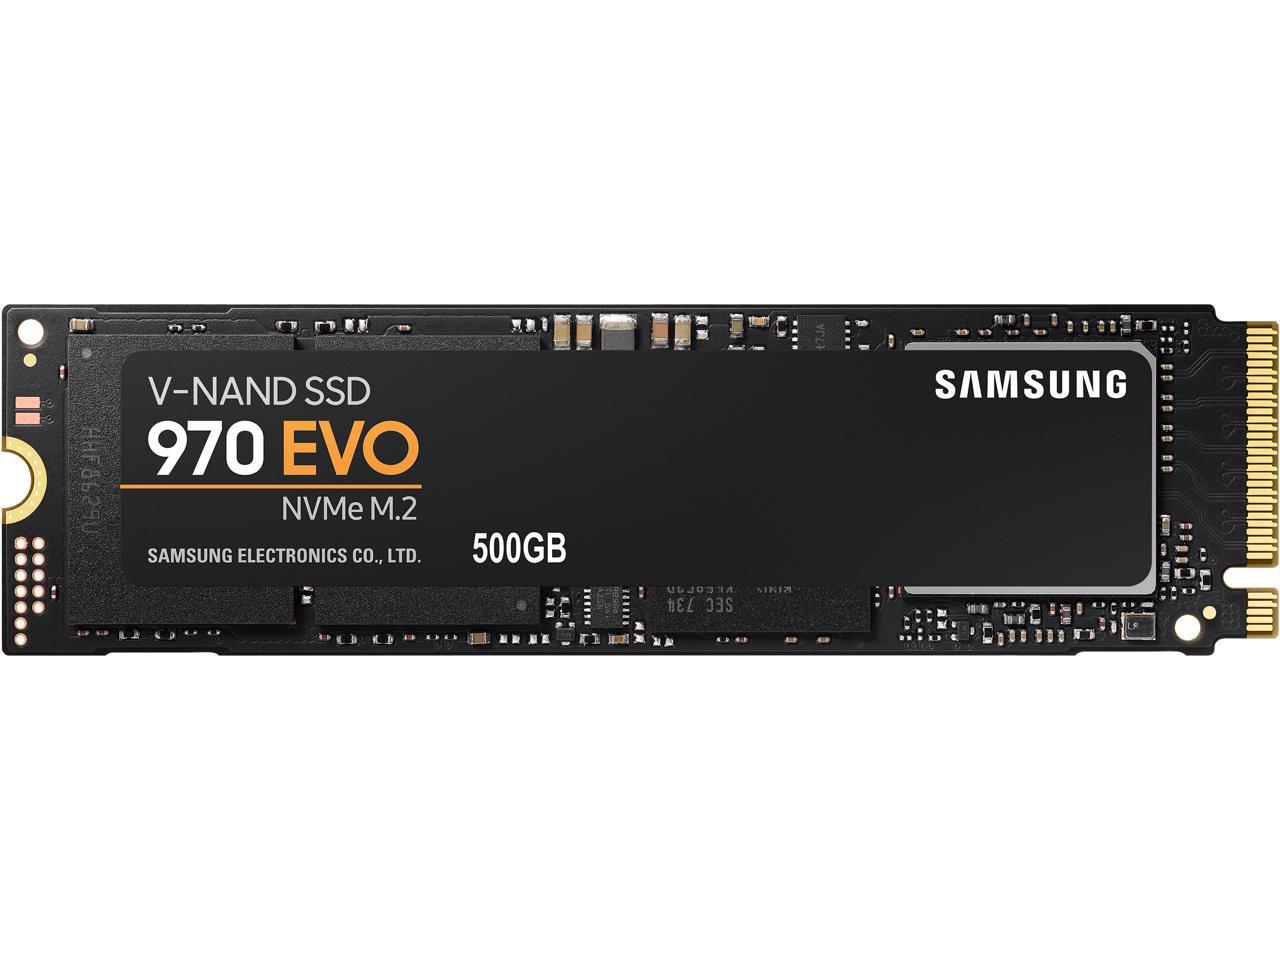
This is one of the most popular M.2 SSDs for good reason. This 500GB Samsung model will act as both our boot drive and our software drive for blistering load speeds, while having enough space to use for a current project you’re working on before moving over to other storage.
Storage 2: Seagate BarraCuda 4TB
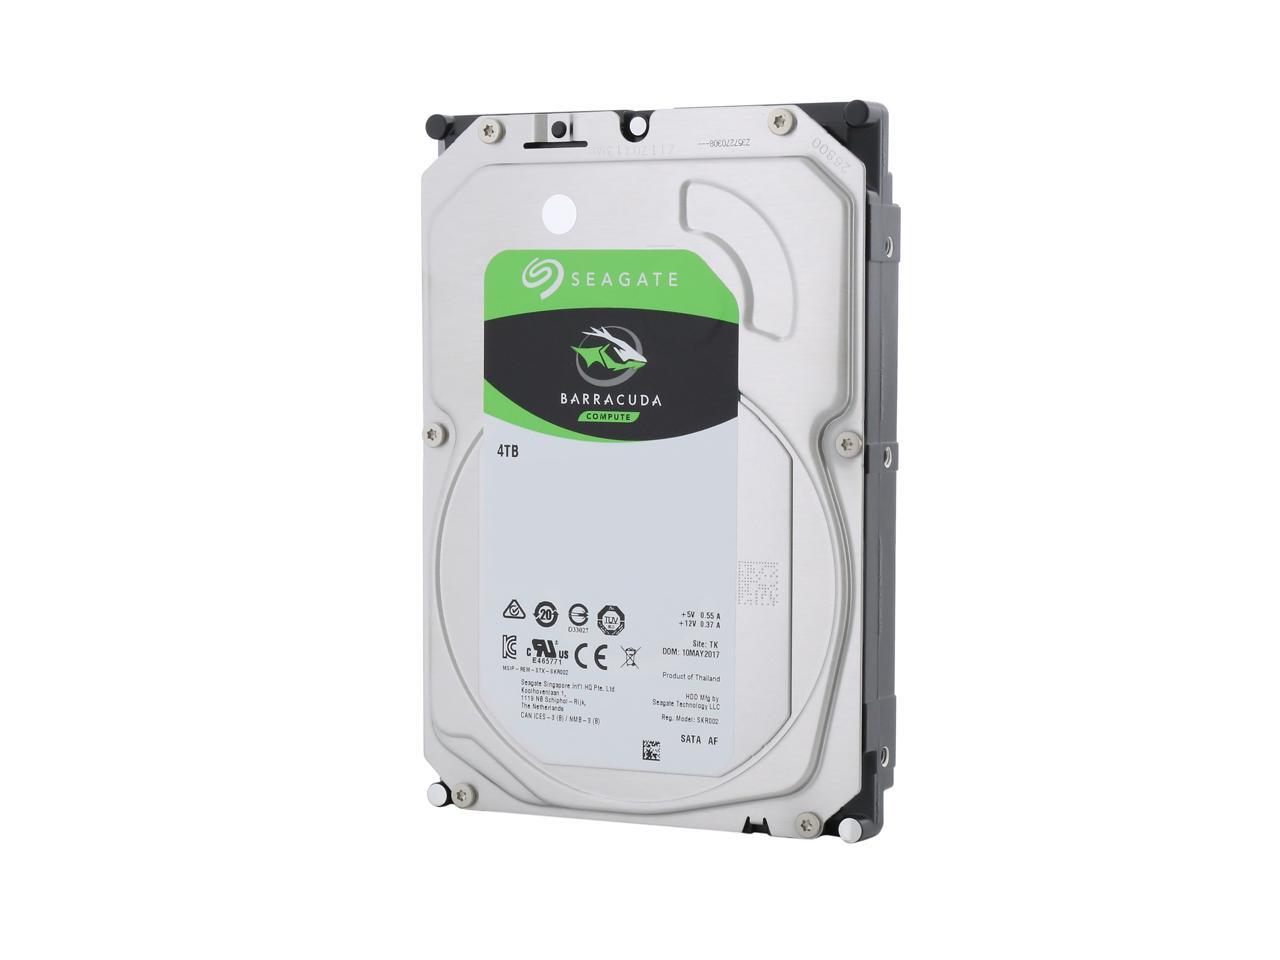
The big brother of one of the most popular drives available on the market, this beefy 4TB drive will act as long-term storage for the build. Simple, efficient, and not too pricey for its size.
Motherboard: ASRock X399M Taichi Micro ATX sTR4
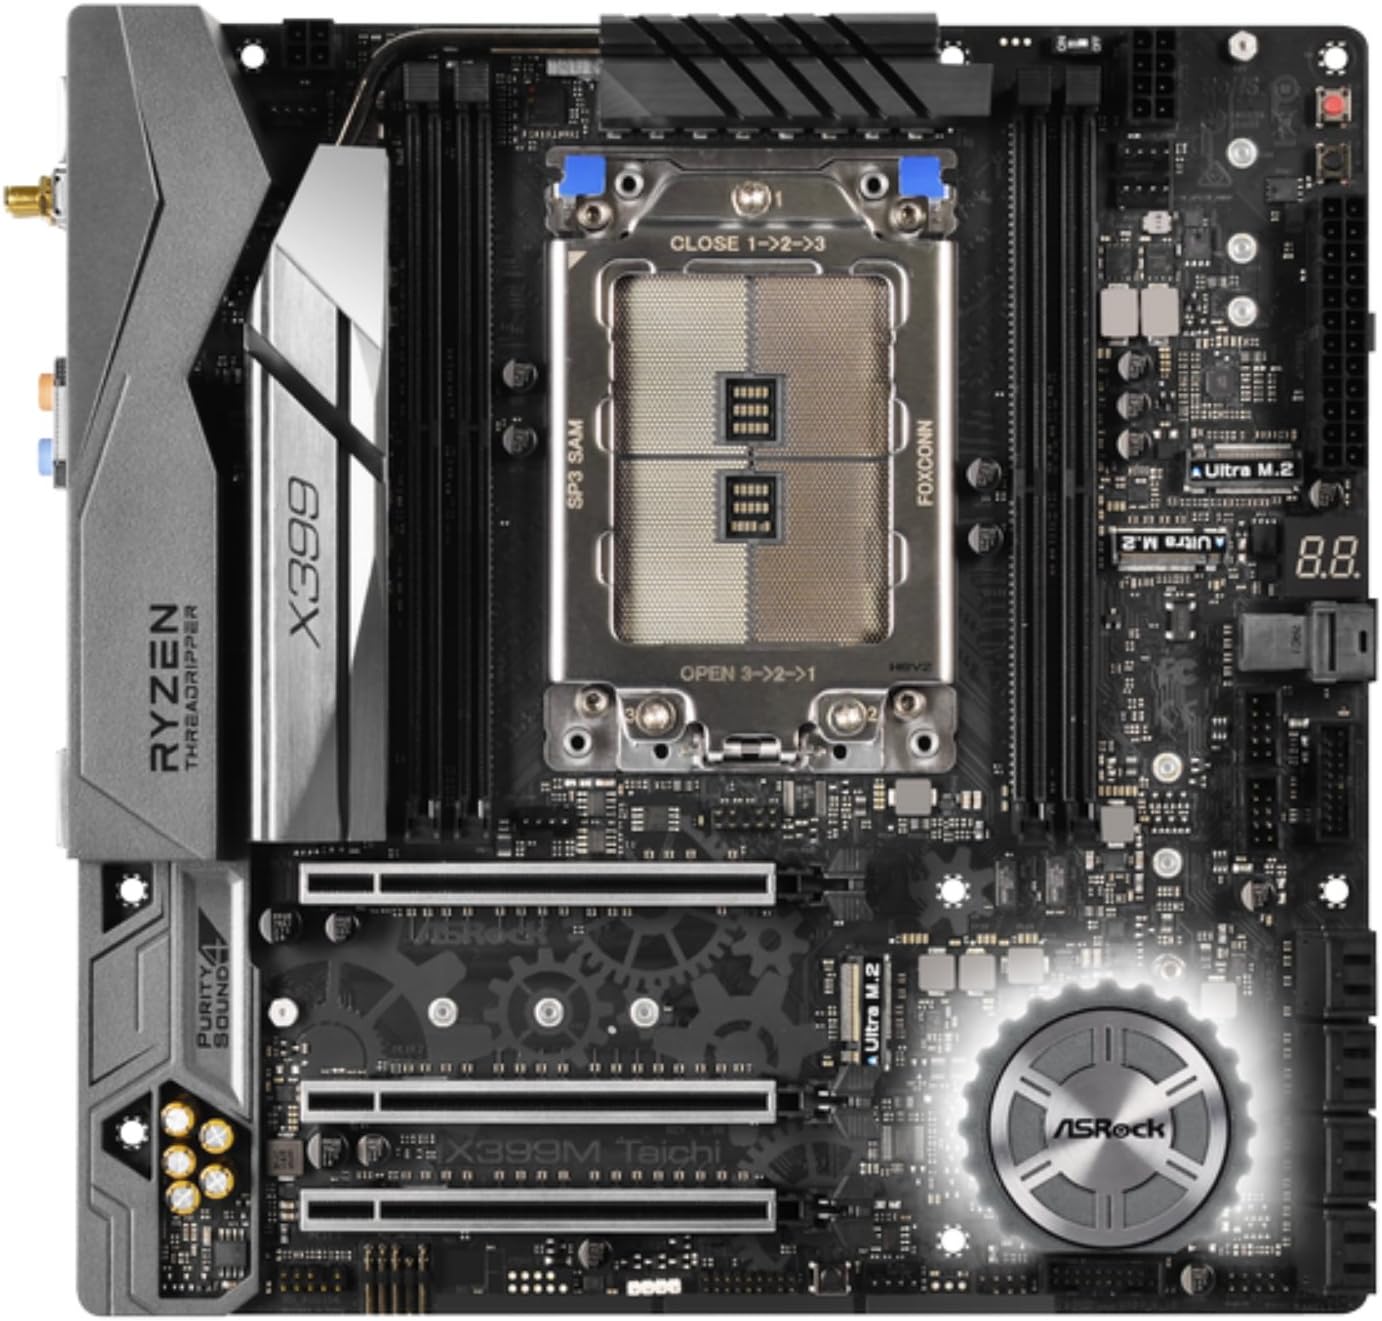
Just look at this little guy! In what was possibly an ASRock engineer’s escape from boredom at the R&D department, we find a full-featured threadripper-friendly Micro-ATX motherboard. It’s got everything from the highest standards in WiFi and sound connectivity, to hotswap support, to 9 standard USB connections and a USB-C, to dual ethernet, to more… it’s a serious board in a small package. Oh, and thanks to this being a Threadripper board, those 3 PCIe slots support full x16/x16/x16 PCIe Gen3 speeds.
PSU: Thermaltake Toughpower GF1 850W 80+ Gold
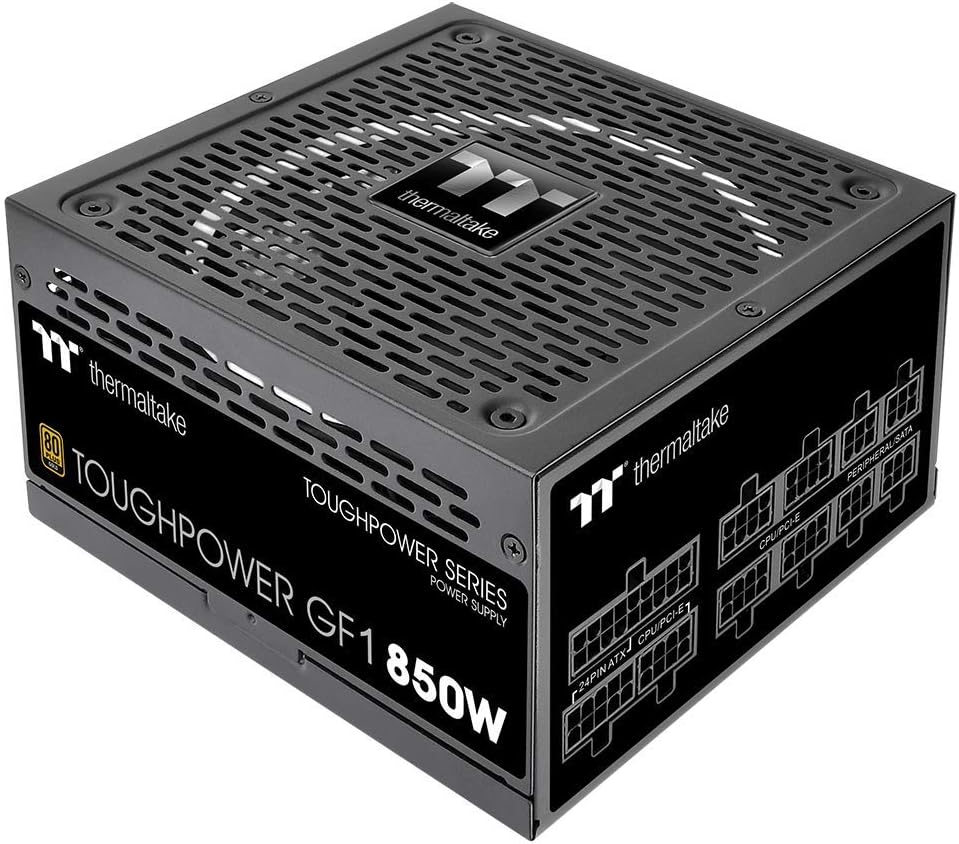
A serious build needs a serious power supply to fulfill its needs, and this fully modular PSU from Thermaltake ticks all the boxes. An excellently rated power supply that can provide plenty of power.
Case: In Win EFS052 Mini Tower
In what is one of the most understated-looking towers (probably ever), comes the tiny In Win EFS-052. This is designed to be a compact workstation-style setup, with a fully customisable interior and a tool-free expansion design. Although we won’t be using all the bays or expansion options here, it’s nice to have those available for further upgrades down the line.
Case Fans: 2x AUB0912VH 90mm PWM Cooling Fan
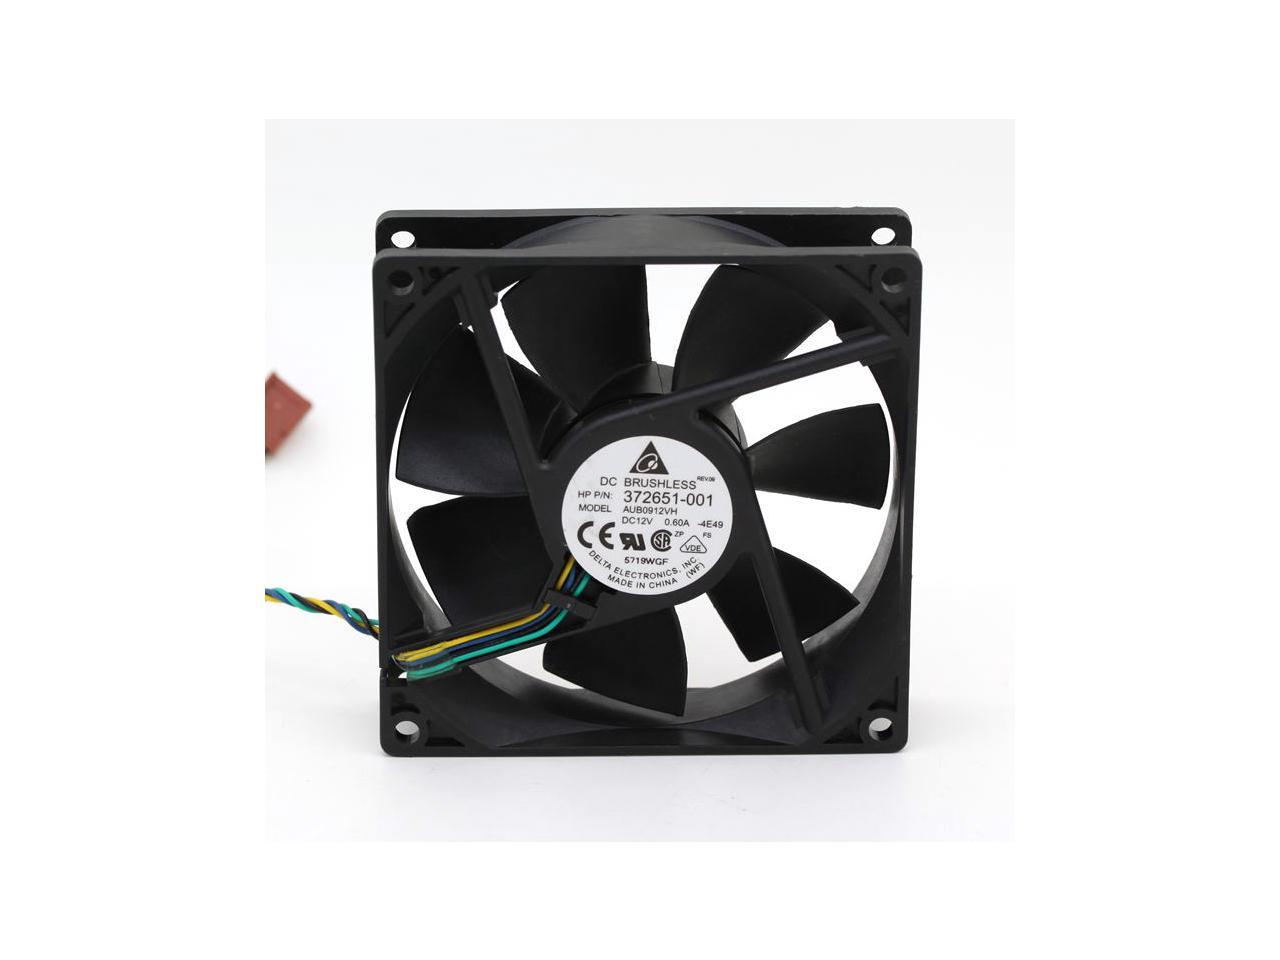
This is a small additional for this case: these 2 90mm fans are designed for very high airflow. The case above is tooled for this style of fan, and with it housing a slightly toasty threadripper build, these are a nice extra to have for a small cost.
Total PC Build Cost: $2900
So, this is not a cheap build. Yet, considering that all of this performance is running in a micro-ATX PC—it isn’t bad at all! You could go even higher-performance than this, too. At this point, though, I think we’re getting to the limits of the cost-to-performance curve without going into “if money was no object” territory.
What this does show is that there is a lot of variation in what you can do with your own micro-ATX PC build, especially when keeping the first build above in mind. With this particular micro-ATX PC, we’re getting everything from a 24-core Threadripper to a Quadro RTX 4000 GPU, all within a mini-tower. You can’t really go wrong if you’re looking for an understated, professional, powerful build.
Go Forth and Build!
There are extras that you might need to finish off this build for your own micro-ATX PC build:
- A copy of Windows. If you are a student or work for a big business, you might be able to get a copy for free or at a significantly lower cost. If not, we recommend Windows 10 on disc ($90) or USB ($120).
- An optical drive—critical if you are wanting to install Windows 10 via disc. Good thing here is DVD-RW drives are cheap these days (here’s one for $21).
We also have general recommendations for:
If you want to see other builds with higher performance, check out the main page at Logical Increments.
There you have it—a pair of micro-ATX PC builds for you to to sink your building claws into!
If you have any questions or suggestions about this build, then let us know in the comments.