

1950's Style Baby Doll PJs Set

 This is a project that I had planned as part of the basic 4 patterns for the year for my vintage pledge. To be honest, I didn't think I would actually begin sewing this so soon. I have been busy working on a few different sewing projects concurrently for the past couple of months, like the lemon dress and pineapple bra top. However, progress for those projects have been slow (for reasons that I shall not elaborate on for the purpose of this post), and I decided to start on something new and simple.
 Nothing screams classic mid-century home glamour like a baby doll pjs set. This Burda Style 7109 sleepwear pattern is an absolute anomaly for me. Specifically, it's the one and only Burda Style paper pattern that I own. I am not sure if it's a true vintage reproduction pattern, but the illustrations on the envelope and the description of the pattern on the Simplicity webpage suggest so:
Marvelous ensemble with all the charms of the 50's: long, sleeveless night gown with elastic casing or shorter variant covering the knee, with short sleeves or cute baby doll with bloomers.
I always knew this light pink swiss dot fabric would be used for this project. When I dug it up from the abyss of my stash, I was afraid that I wouldn't have enough yardage for the pattern. I only had 1.5 yards each of the swiss dot and the cotton lining I was going to use. This pattern suggests 2 1/4 yds for the top (option C), and 7/8 yds for the bloomers (option D) for the smallest size printed for the pattern - US size 10. Fortunately, after downsizing it by 2 sizes for it to fit my frame, I realised that I was able to squeeze all the pattern pieces onto just 1.5 yards of the fabric.
 Grading this pattern was easy peasy as it's a very simple design. The most tricky thing about using this pattern was the cutting of the fabric. All of the patterns I have been using show the cut line on the pattern (i.e. 5/8" seam allowance included), but this Burda Style pattern actually shows the stitch line (i.e. 5/8" seam allowance NOT included). I forgot about this important piece of information along the way and actually cut the fabric along the stitch line. *gasp*
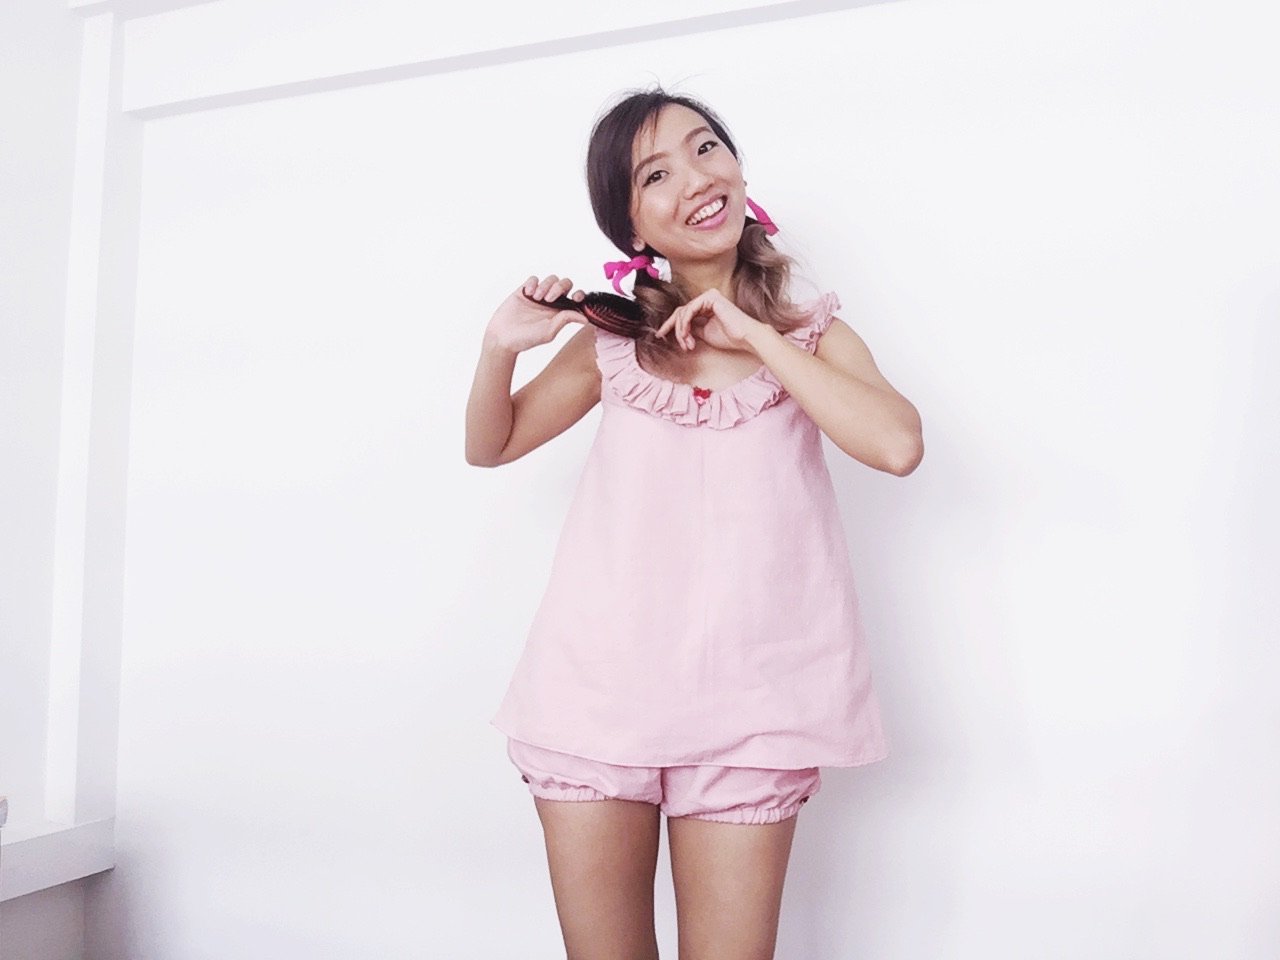
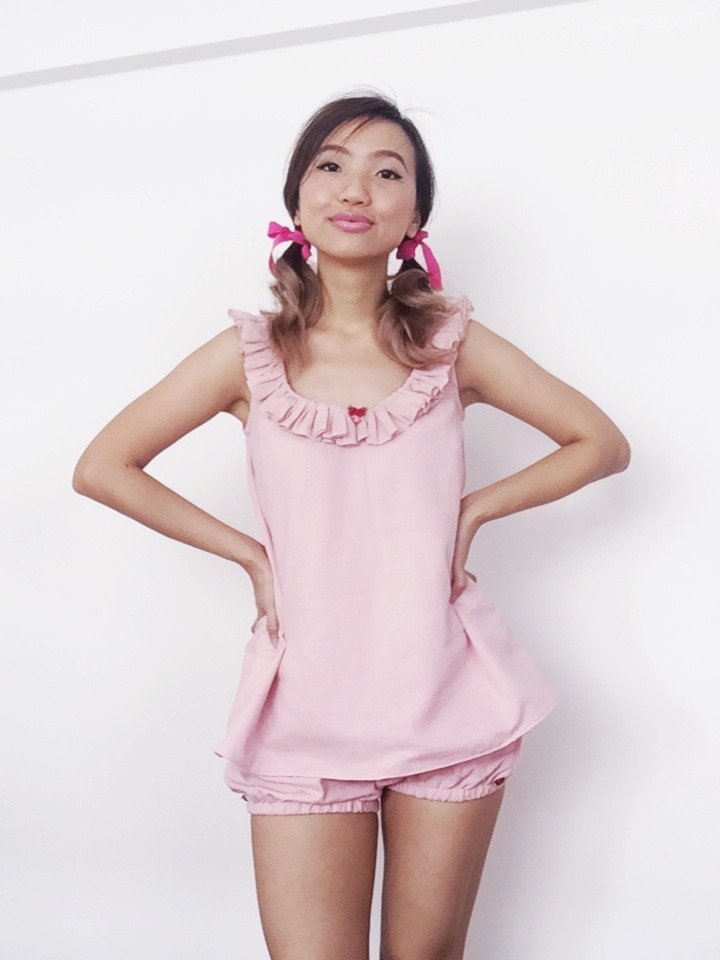
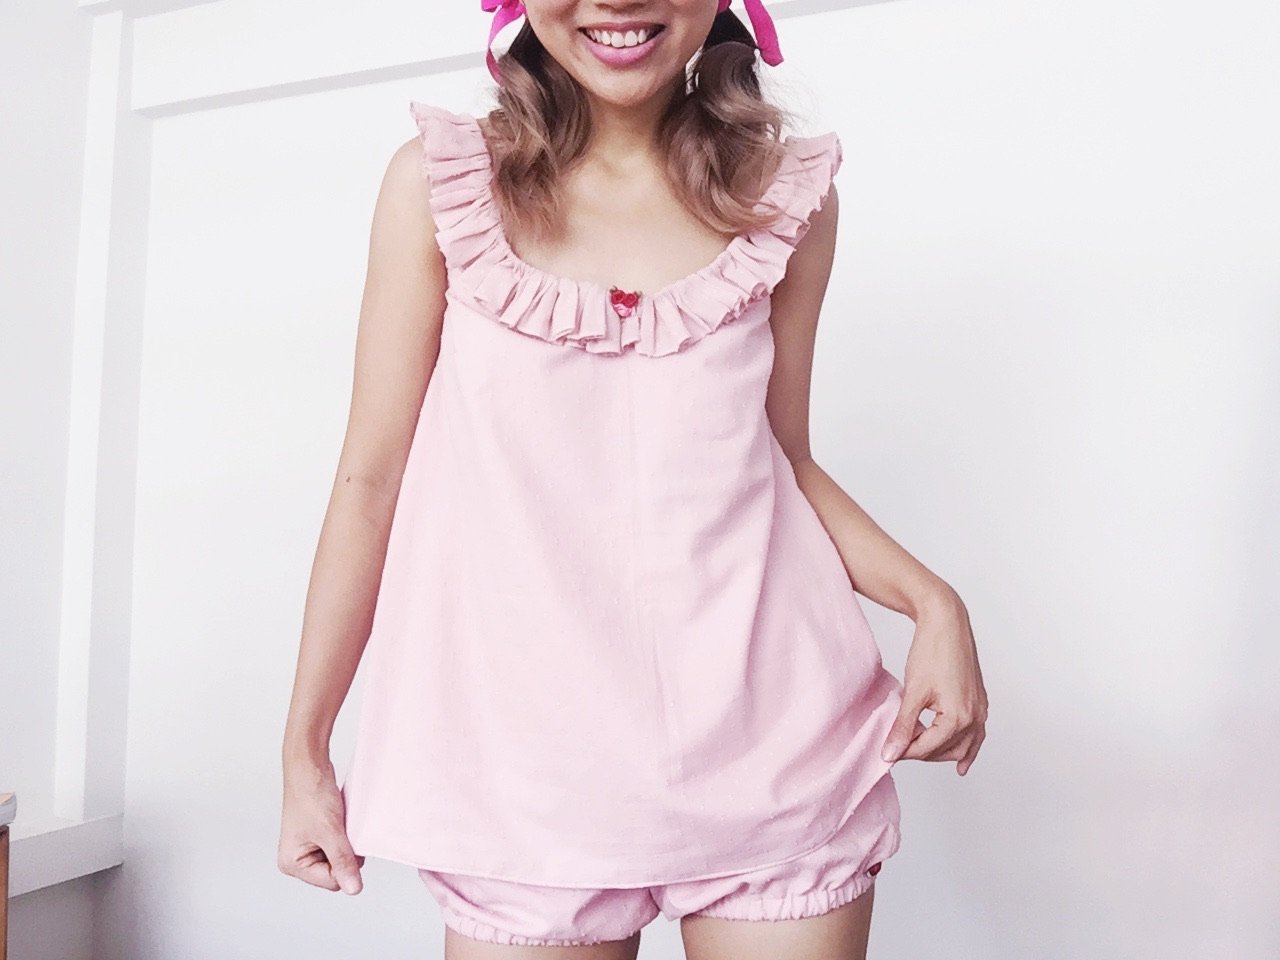
 Oh the horror! And mind you, I only realised my mistake halfway through sewing everything. As you guessed, I did not make a muslin. Out of sheer luck, everything ended up fitting me pretty decently.To give this baby doll pjs set an even greater and sweeter baby doll vibes than it already does, I decided to use floral bias tape binding, and added some ribbon roses to the centre front of the top and the sides of the bloomers. I'm so happy with how these details turned out. They make me feel that the reproduction is more true to the era, and give the entire set a more polished look.
 I am not sure if I will make any more pjs for the rest of the year, since I have already made 2 so far (including this one). But I think this is a very versatile pattern which I will keep re-using. I am already thinking about making another pair of bloomers to go with a lonely vintage 1960's baby blue pajamas blouse, and perhaps even making a variation at some point with puff sleeves. Hurrah to all the sewing that awaits! xo G