Claire Bowman Chantilly Lace Mat
Have you seen a cake decorated in sugar lace? Sugar lace is fairly new, but all the rage. It’s so very beautiful. There’s lots and lots of cakes I’ve seen that are so elegantly decorated with sugar lace.
Before Christmas I ordered some Sugarveil mix and a silicone doily designed silicone mat from Lindy. I still haven’t used the Sugarveil mix. From what I can gather Sugarveil was the first “lace” product on the market. People have been trying to work out what the ingredients and proportions are and there’s been varying degrees of success.
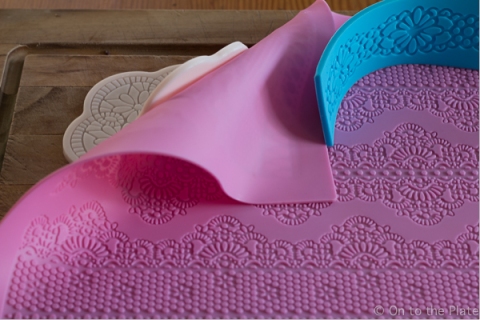
Demonstrating differences in silicone thickness and pliability.
I’d heard about Cake Lace from the reading some comments on the NZ Cake Decorators Facebook page. I’d looked at the wonderful mats and I almost put in an order. I hate the cost of shipping and that put me off.
Then new Claire Bowman mats were released just recently and I went in search again for the prices. This time I decided not to deny myself and ordered a starter kit and a couple of extra mats. I also put in an order for a couple of Dab mats that I’d spied.
This blog post is about my experience using the Cake Lace product by Claire Bowman. I used the Cake Lace in Claire’s mats, the one mat I used for the homemade recipe and the new Dab mats that had recently arrived. I was so excited by this experiment.
Some of these photos, the ones were I’m using making the Cake Lace and filling the silicone mats were taken with my phone, the ones after the lace has been removed from the mats are with my dSLR.
Usually I post photos of a recipe I’m following, but there’s no need. Claire had a very thorough YouTube of making up her Cake Lace as well as how to use it with the silicone mats.
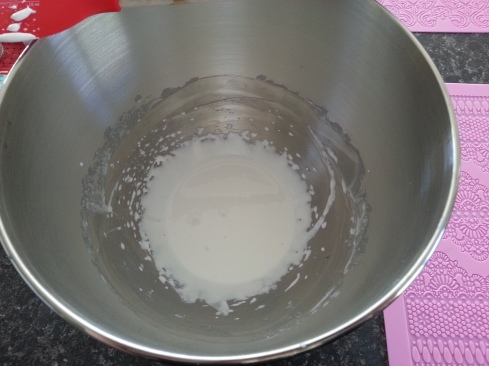
After Part B, finally it’s getting some volume
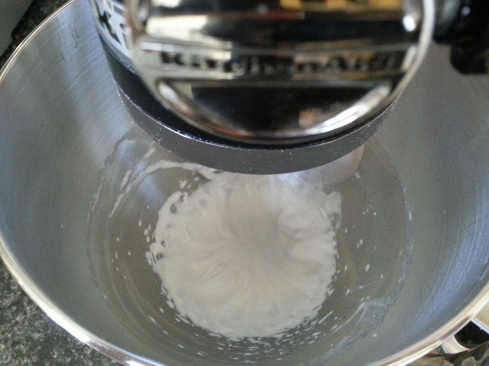
What I found was the amount of lace I was making was almost too small for the KitchenAid mixer, but this is the same mixer Claire demonstrated, using the same quantity of ingredients. I had to scrape the bottom of the bowl a couple of times because the whisk attachment wasn’t reaching it (I probably need to adjust the height/position of my attachments). Once I added part B things improved and the mix increased in volume making it much easier for the whisk attachment to do the job of whisking.
Ready. Perhaps I should have waited for more bubbles.
The smell of the mix is really intense, a nice sweet aroma, but don’t let that fool you into dabbing your finger in the left over Part B that’s on your measuring spoon. Being the curious creature that I am I just had to have a little taste. It was so strong, and I’m not sure what it was meant to taste like, but I do NOT recommend a taste test. But if someone told me not to try I’d still do it 😉
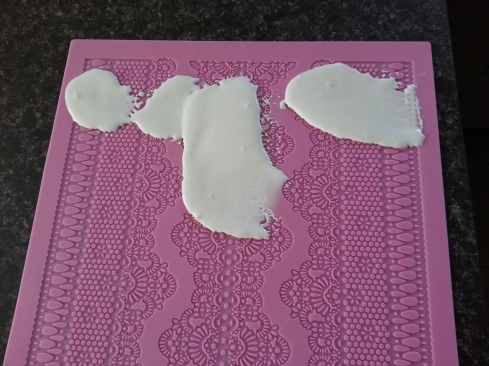
Just how much do you really need to apply to begin with? It wont take long to get to grips with that.
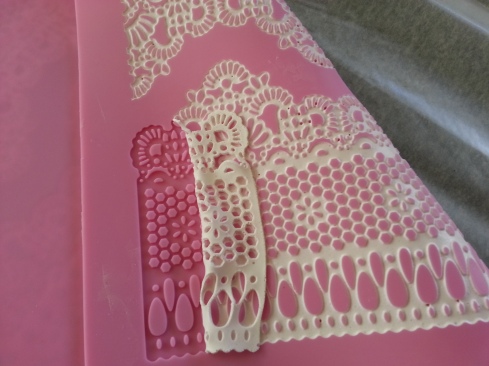
Using the mix on the mat is pretty simple. I had a bit of trouble trying to work out how much would be enough. I didn’t want to plop too much on the mat and end up having so much it was running off the sides. I didn’t want to waste any of the mix. I needed to add more than I thought but it was easier to figure out just how much once I got going.
The excess scrapes off so easily with the spreader/knife from the starter kit. See the top photo.
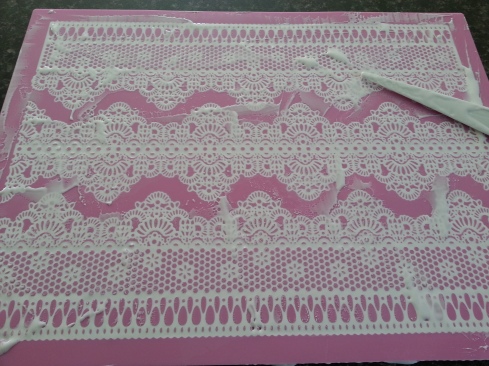
As you’d expect with using delicate patterns, some of the mix doesn’t quite site neatly into the tiny grooves on the first pass. You need to go over some bits of the mat several times. It’s not difficult, you just have to keep an eye out and make sure the mix has filled the design fully.
Using the sweeping motion back and forward and sometimes up and down as Claire mentioned (a paddle sort of motion) was meant to help get any air bubbles out. I must admit this was the most disappointing part of the look of the finished lace for me. Perhaps I haven’t got the technique right, or maybe I should let the lace mix rest for a while, like you do with Royal Icing, to encourage the air bubbles to the top.
Unwelcome air bubbles.
I was being a bit cautious with the mat, it’s very supple and I was worried somehow I’d end up tipping the lace out of the design, but I soon realised that I needn’t be quite so careful. Not to be reckless, but I didn’t have to be so precious about shifting the mat from the bench to the baking tray, or just shift it out of the way while I prepared another mat.

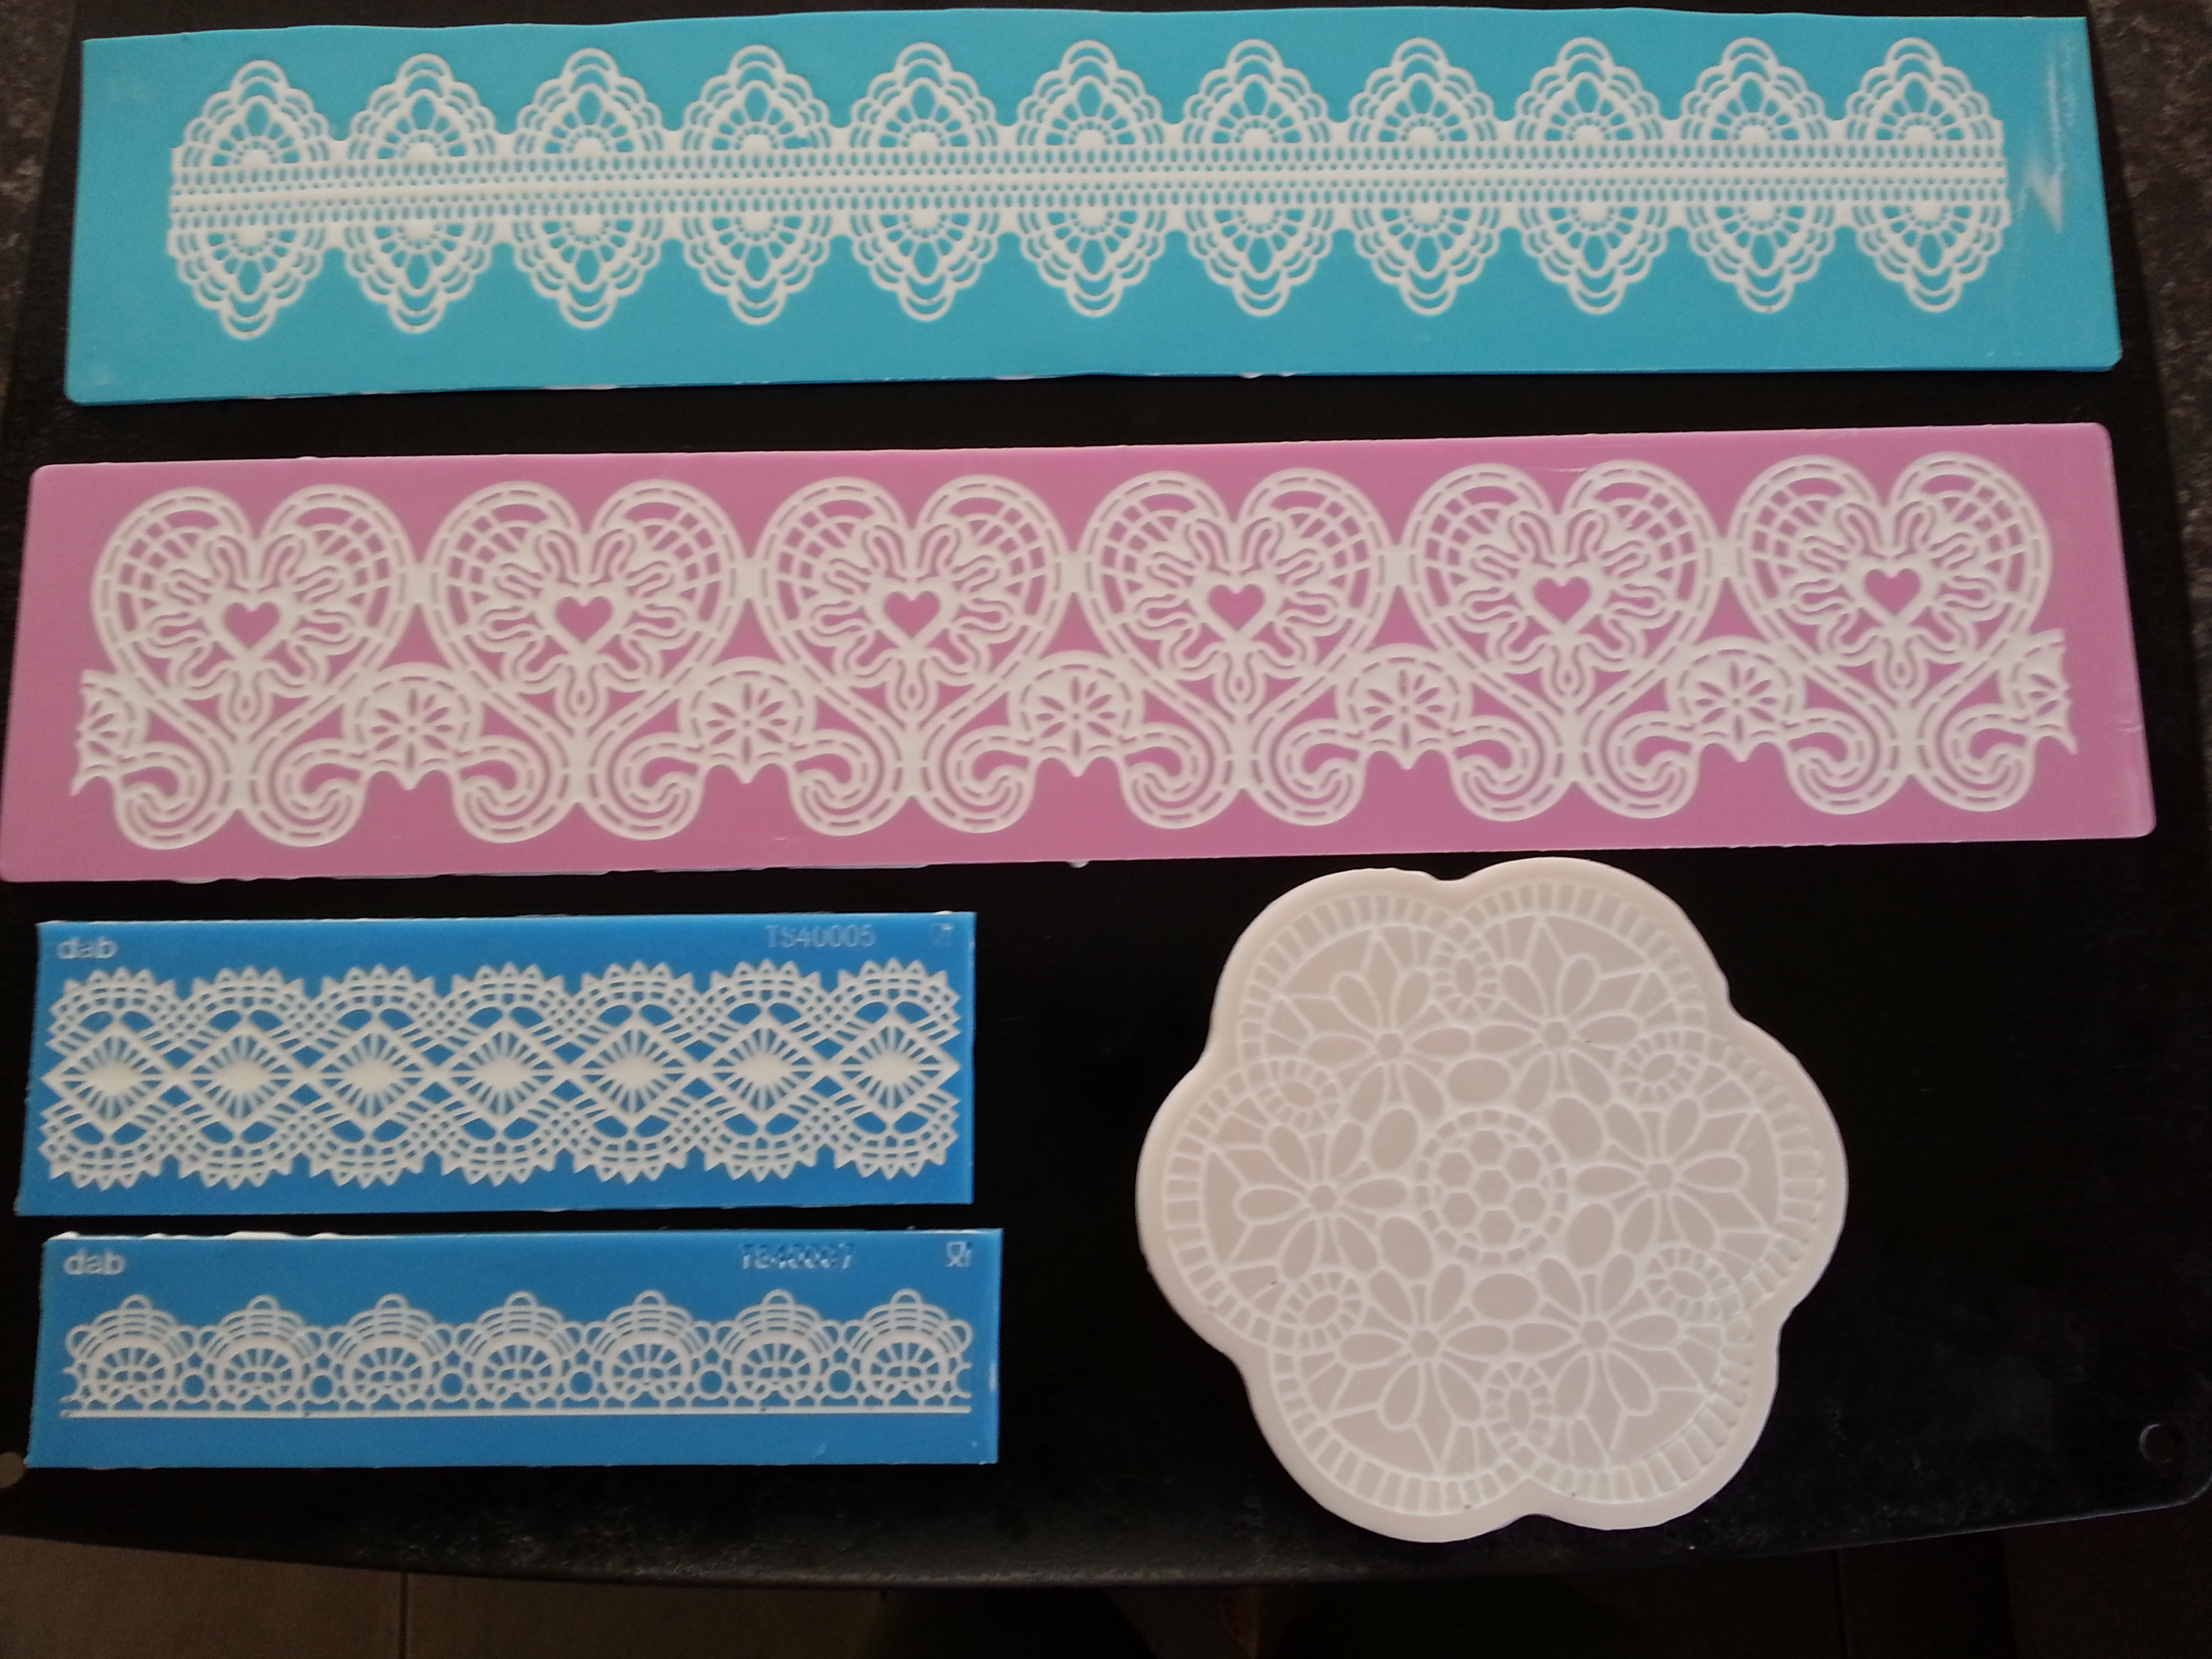
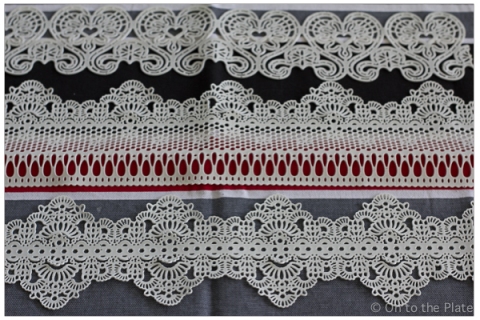
Top two mats from Claire Bowman. Bottom 2 (left) Dab and the doily was the original mat I purchased. Unsure whose it is.
I put the first mat (the one with the 3 lanes of complementing design) in the oven while I worked on the other mats. I left it in the oven at 70 degrees Celsius for 15 minutes. When the time was up I thought the mix still looked too glossy, but it had flattened in the mat, so the mix was no longer sitting flush with the mat, it had shrunk down. Does that make sense?
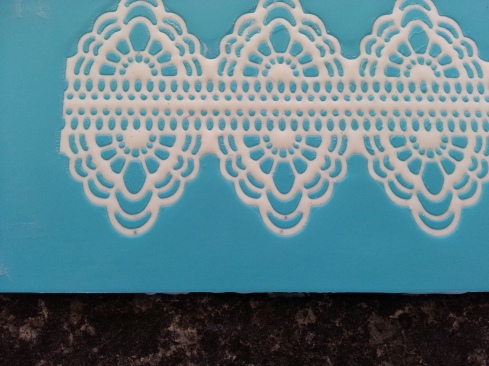
This is what you expect to see when the lace is ready for removal.
I pulled at the edge of the mat but it didn’t look to me like the lace was separating so I put the mat aside and put the remaining mats into the oven.
When the 15 minutes was up the other mats looked more likely they were dry enough but I put the first mat back in the oven with the oven turned off, then about 5 minutes later I decided to return the 2nd sheet as well, just to be absolutely certain.
All up the first mat had been in the oven 15 minutes of active baking/drying and 15 minutes with the oven turned off. The second tray was 15 minutes of active baking/drying and 10 minutes with the oven turned off.
It still looked a bit flimsy, like it wasn’t quite ready, but it was. I didn’t use the spreading tool on this first bit and ripped a little bit of it.
This time the first mat showed more promise that the lace would separate from the mat. I wasn’t completely sold on it and was a bit haphazard in my approach to extracting it. In fact I had the mat half way in the middle of the bench and was leaning over the bench to reach it and then tried to pull it away. I was not doing what Claire showed, I was not using the knife/spreader and not surprisingly, the lace tore. But then I realised it was actually good to go so I got serious about the task at hand removed the rest of it properly.
The bit I tore by not following Claire’s instructions. Pay attention.
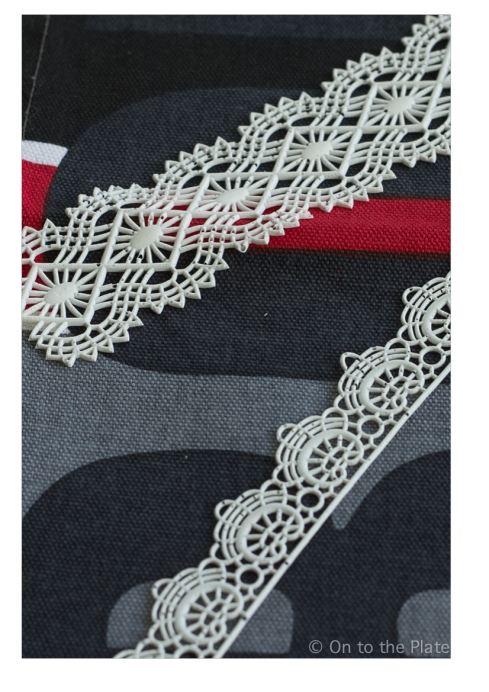
I was thrilled how supple the lace was.
The Dab mats were harder to get the lace from and I ended up tearing a tiny bit here and there, but it is easy to place and not tell it’s torn.
The bubbles are noticeable, well to me. These two are from the Dab mats.
The heart mat wasn’t difficult to extract from, but due to the design, there was one part that wouldn’t pull away from the mat as it was being bent back. Just that tiny little scroll, the photo from my phone shows the best.
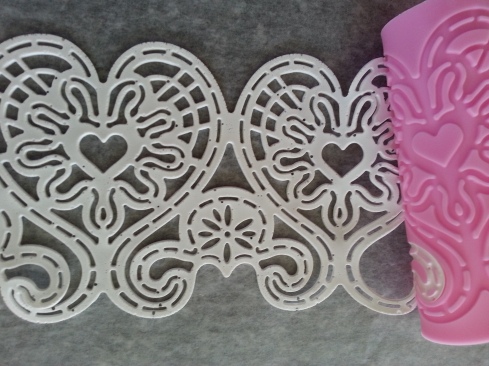
That little bit there will catch, watch for it. It’s easy to extract, but it wont come away cleanly with the main part of the design.
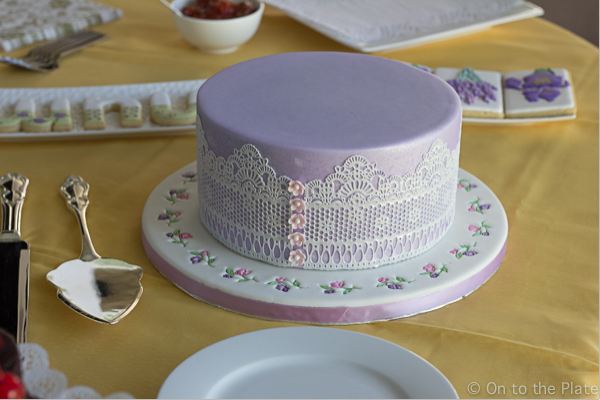
Now I have all this near perfect cake lace and I’m not sure what I’ll use it on. I was in awe of how flexible it was. I had heard it was, but most photos I’d seen were of cakes already adorned with the cake.
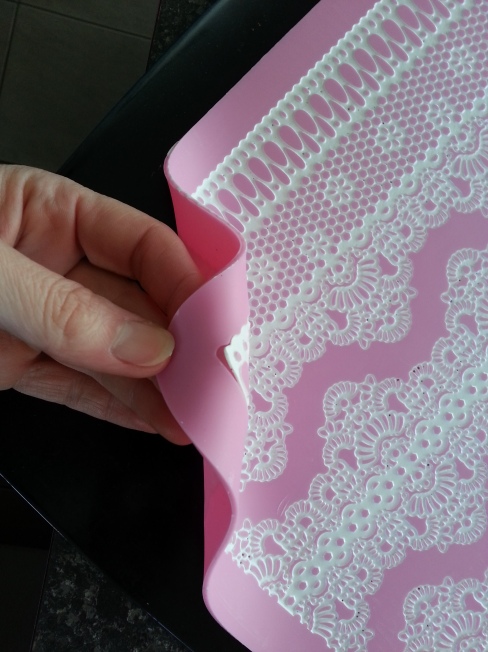
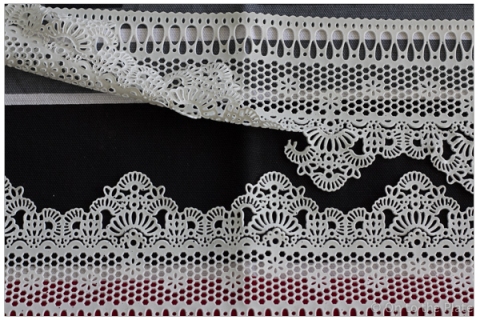
So here are quite a few photos to show just how bendable, flexible, pliable the cake lace is. I even got to draping it round and round my wrist and it never tore, it didn’t crack, it didn’t do anything but drape like it was a piece of fabric.
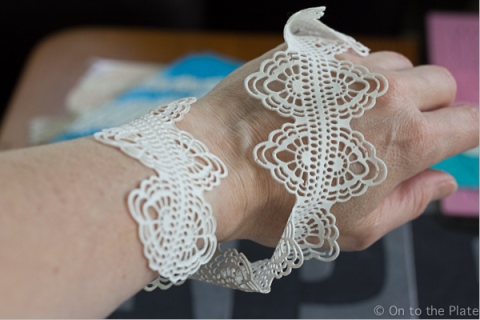
Wrapping the lace is a breeze.
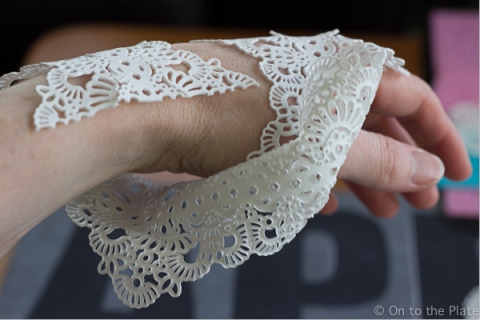
Flexible, supple, bendable.
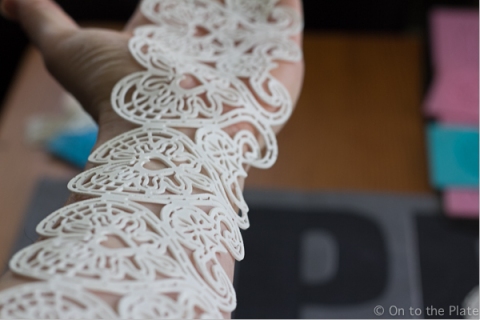
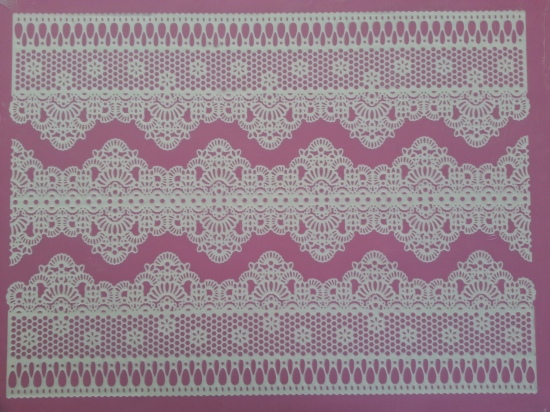
It really does look like lace, especially if you drape it over your arm like a sleeve.
I’ve stored the cake lace as directed by Claire. It’s been wrapped in both waxed and baking paper and stored in a box (which isn’t sealed). Yesterday I grabbed the doily one just to see if after almost two weeks (two weeks is on Monday/tomorrow) it had remained soft and supple.
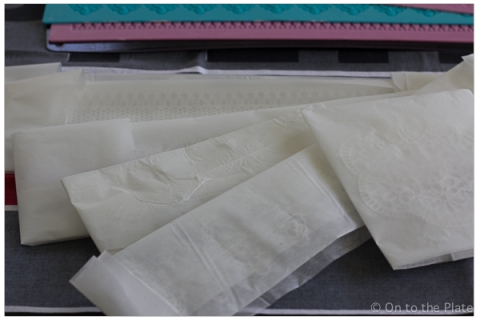
Stored ready for when I dream up a cake to decorate with this product.
The verdict? Yes! I did find I had to peel it off the paper, I hadn’t expected that. I’m not sure why it sort of stuck to it, but it wasn’t difficult to remove. The doily feels and behaves every bit the same it did the day I made it.
So is there a downside? Yes. There are two:
- The cost
- The air bubbles
I don’t know what to say about the cost. The product has to come to NZ from the UK and then there are duties and taxes that have to be paid, so it’s not cheap to buy. It seems so unfair when it’s not the equivalent cost (with the exchange rate taken into account) for people to purchase in the UK. As it happened I bought mine directly from The Cake Decorating Company in the UK. At the time I hadn’t been aware that KiwiCakes was now stocking the product. I’ve done a few sums and even with the exchange rate (at the moment) and the cost of shipping, for me it is still more cost effective to buy from the UK. It’s a sad predicament because I far rather support NZ business, but when it comes down to it, I don’t do this as a business, I can’t write off any of the costs. If we were talking just a few dollars then it would be a no-brainer. I’d buy locally.
As for the second, the air bubbles, I’m not sure if it was my lack of experience/technique, if perhaps I should let the mixture rest for a while to see if the bubbles would just work themselves out, or whether it really doesn’t matter because unless you’re studying the lace you probably wouldn’t see them.
Beautiful, delicate lace.
I’m not sure how much I will get out of the rest of the Cake Lace mixture, but I love using it. Now I just have to dream up some cake or cupcakes that would be worth of decorating with this lovely product.

 It was our 13th Wedding Anniversary mid March. I feel very lucky. 13 years with the best man in the whole wide world. My love for this man has not diminished with the passing of time, only deepened. Ok, enough of the mushy stuff. It’s enough to say it was our wedding anniversary.
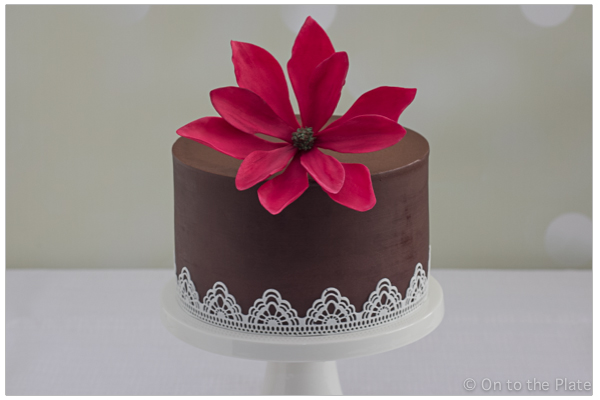
 I’ve run out of patience having to trim the sides of all my cakes to make sure I’ve got sufficient space to ganache. I ordered more acrylic circles with an extra 2mm (all around) increase. But for this cake I had to trim the sides. I admit it looks tidy when it’s trimmed, but what a waste of time, and cake, albeit just a bit of cake is wasted.
 As for the flower, well it’s hard to believe this was a magnolia cutter. It seems more like some star burst flower than a magnolia. I think I cupped the petals too much. I used the veiner as the guide and made formers from tin foil which I laid over the veiner. Never mind, it still worked out fine, even though it’s not the flower it was meant to be. I have a photo of what the petal looks like with and without petal dust. Yes it makes a difference. At some point I will embrace the whole petal dusting, but I think I’m a ways off from that yet. I also took some of the petals away, I decided with all the petals that I made the flower itself was bigger than the cake! It’s all about proportion, well that’s a consideration anyway.
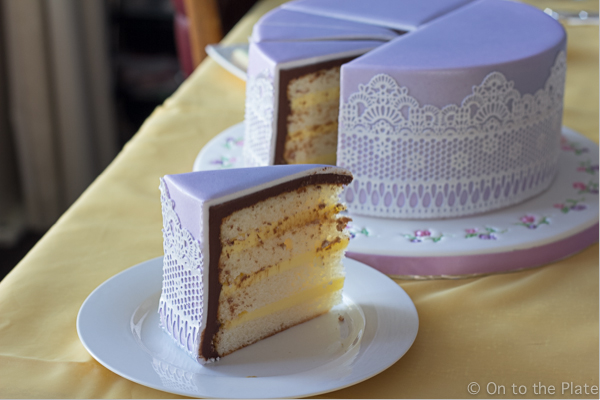
 After having had some of David’s cake the day before, then a slice of our Anniversary cake, we were all caked out. The cake itself was very rich. I know this seems odd to say, but without the fondant, the cake was harder to eat. The fondant seems to combat some of the richness by the sweetness. I certainly found one slice to be more than enough. And I know my work mates were happy we couldn’t face another slice.