Skin care and makeup tips for getting plump, full looking lips!
Posted on December 13, 2019 Written by: 100% PURE ®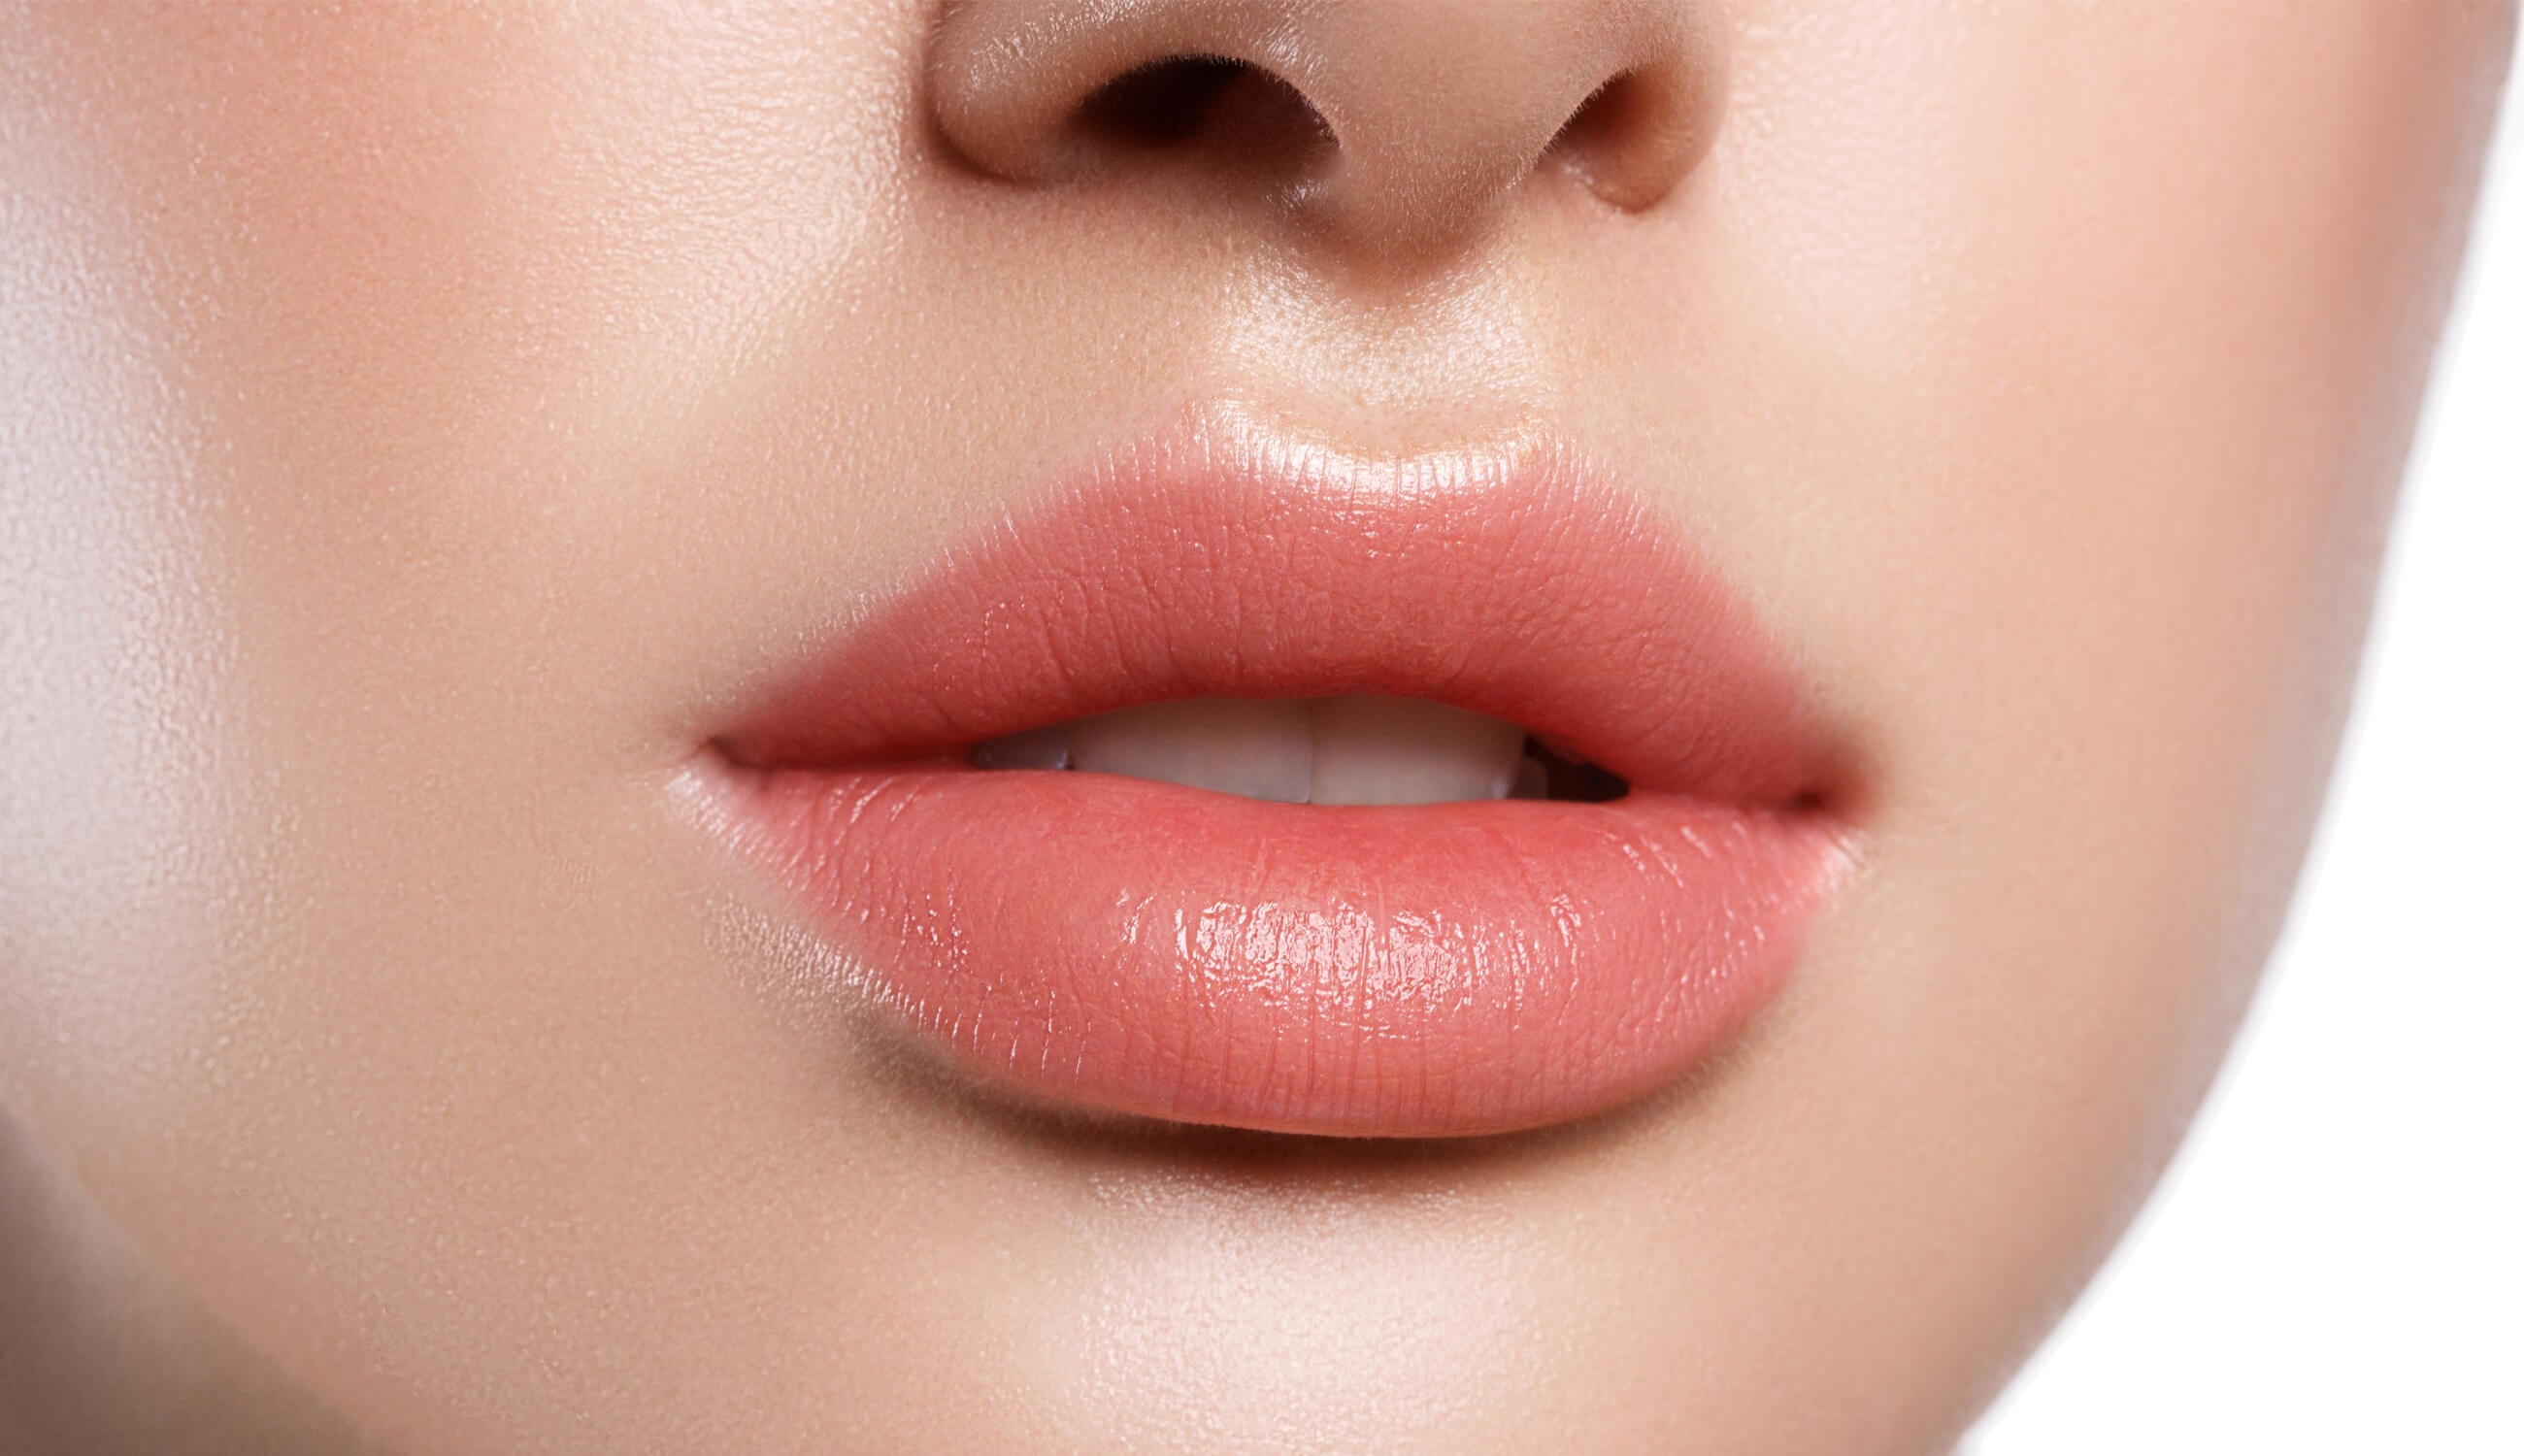
If eyes are the windows to the soul, lips are the front door! If you’re looking for super plump, soft lips to beckon the object of your desire, you’ll need a few tricks up your sleeve.
To create a truly memorable pout, it is critical to first adopt a lip skin care routine. We’ll also show you how to plump up lips using natural makeup pigments – and get it done in under 5 minutes flat.
Want to know our best-kept beauty secrets for that perfect pout? Keep reading to learn how to make your lips look fuller in 7 easy steps!
Before all else, adopt a rigorous lip exfoliating routine. The skin doesn’t turn over like the rest of our skin, so it needs a bit of assistance in shedding its rough layers.
We start all our lip routines with a mandatory lip scrub, which can buff away dullness and flakes. Use a moisturizing lip scrub, ideally made with ingredients like coconut oil and olive oil. Check out our recipe for 3 DIY lip scrubs that taste as good as they scrub!
How often should you exfoliate your lips? If your lips are prone to rough patches, exfoliate twice per week. For routine maintenance, once a week should be sufficient.
Did you know that the skin on your lips is different from the skin on your face and body? Your lips have a thin – rather than thick – stratum corneum, the protective outer layer of skin that guards against the elements. The lips also lack sebaceous glands, the source of moisturizing lipid called sebum: skin’s naturally lubricating oil.
Since the physiology of the lips is far less capable of protecting and moisturizing itself, this is why we swear by a twice daily (or more) lip balm application. Lips won’t look plump and healthy when they’re dry or flakey; regular use of natural, luxurious lip balm will keep lips looking supple and soft – trademarks of full lips.
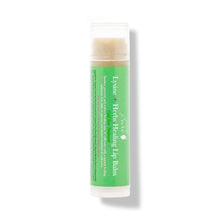
Keep lips healthy and free of imperfections with our herbal Lysine + Herbs Lip Balm. This healing formula mitigates and prevents unsightly cold sores from forming, thereby ensuring that the focus can be directed to the utter lusciousness of your lips – not your cold sore.
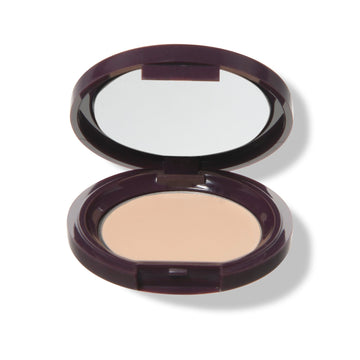
If you’re relying on color to enhance lips, be sure to prep skin first with a flesh-toned foundation or concealer. This step completely neutralizes the tone of your lips, and intensifies any following lip color.
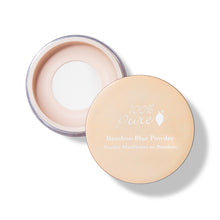
Our Fruit Pigmented® Long Last Concealer allows you to essentially cover the outline of lips entirely, to then build the shape of fuller lips with your lip color. If you plan on using matte lipstick, finish by setting the lips with Bamboo Blur Powder for a silky smooth finish.
Highlighter isn’t just for the cheeks and nose; it can also be used to bring volume to the lip area. The cupid’s bow is the area between the nose and mouth – those two, perky ridges that lead right down to the apex of our lips. A light sweep of a natural highlighter or lip contour with a delicate fan brush can go a long way in making lips look naturally pouty and luscious.
PRO TIP: To highlight lips, dab a bit of powder highlighter to your bottom lip, right at the center. Purse lips together once, then twice to blend. Highlight will give the illusion of plumper lips when it catches the light!
Lip liner allows us to expand our lip line, instead of applying lip product ‘inside the box’. Use a shade that’s 1-2 shades darker than the lip product you are planning to apply. Go above your natural lip line just slightly, being sure to stick to your true lip line when it comes to the outer points of the lips. Buff with a small brush to bring color inward, and diffuse your lip’s outline for a soft, bee-stung finish.
Alternatively, to get crisp, luscious lips like Rihanna, create definition with your lip pencil. Starting on the innermost rim of your mouth, draw upward on your top lip and downward on your bottom lip. Lines should be in the center for the lower lip, and outward in both directions on the top lip, but feel free to play around with this and see what works best for you.
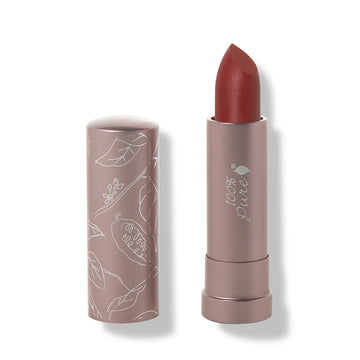
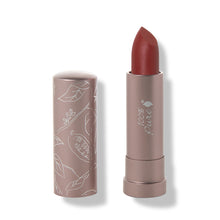
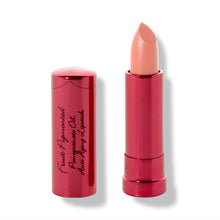
Choosing the right color is key to the illusion of plump, full lips. Dark colors will actually make lips smaller, especially if your lips are naturally thin. Using shades like nude, pink, or mauve will actually enhance the size and shape of your lips. Give Cassia or Cacti matte lipsticks a whirl, or experiment with Buttercup and Thistle semi-gloss shades for the perfect pout.
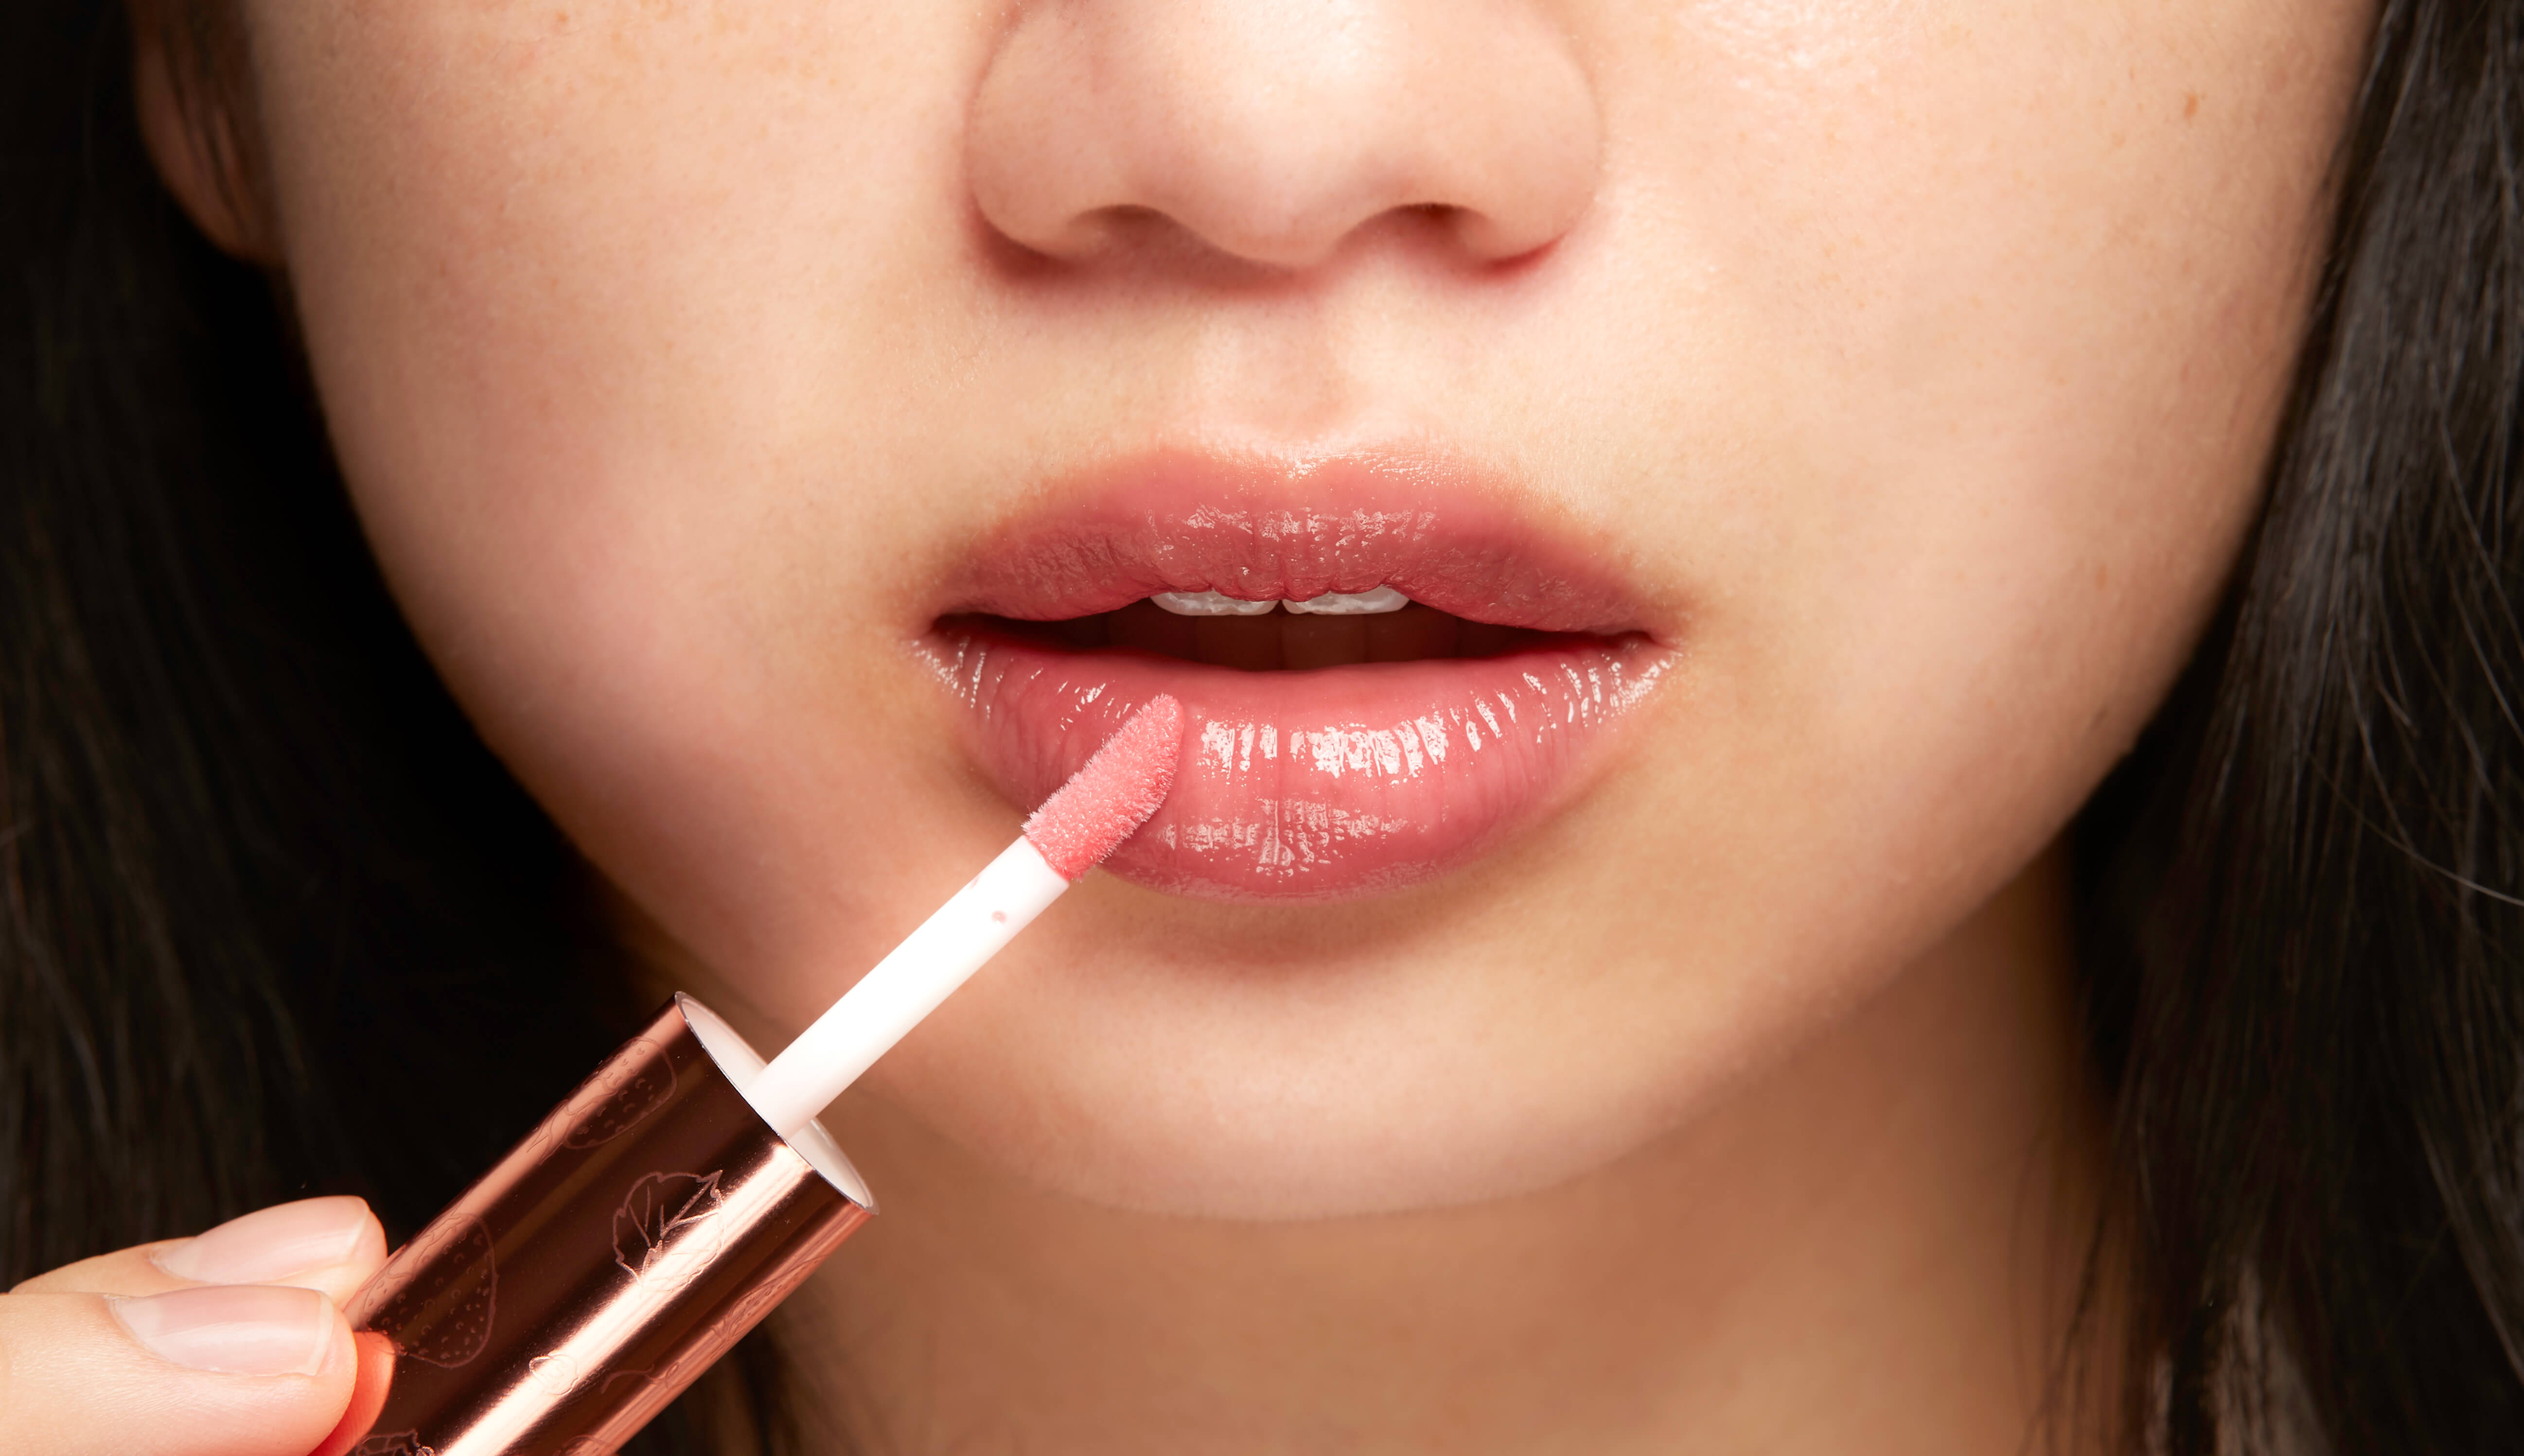
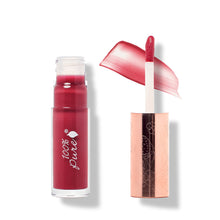
Nothing says “plump” quite like a glossy pout. Our Fruit Pigmented® Lip Gloss is juicy, moisturizing, and enhances the natural color of our lips. These semi-sheer and sheer shades glisten with just the right level of shine, without being greasy or sticky.
Dab a juicy, moisturizing lip gloss on lips as a finishing touch to your lip look. If you don’t like an all-over gloss finish, just dab the gloss at the center of your lips to give the illusion of light hitting the fullest, most prominent area of your lips.
See – piece of cake, right? These steps for full lips are written in detail, but take less than 5 minutes when done all together. With most products that promise to enhance lips, there are skin irritants inside or ingredients that we can’t even pronounce. With this routine, you are using healthy, natural ingredients that leave your lips looking and feeling better than what you started with.
- Tags: December-2019, make up, Makeup, Skin Care, skincare
We carefully hand-select products based on strict purity standards, and only recommend products we feel meet this criteria. 100% PURE™ may earn a small commission for products purchased through affiliate links.
The information in this article is for educational use, and not intended to substitute professional medical advice, diagnosis, or treatment and should not be used as such.