
Guest blogger and long-time friend of Club Scrap, Hetty Sanders, shares how to make an Iris Folded Kite card. Hetty is a talented paper crafter from The Netherlands. You can find more of her work on her blog, Craft Chaos.
What is Iris Folding?
Iris Folding originated in The Netherlands in the 1700s. Envelopes in Holland used to feature a pattern on the inside to make the contents more secure. You could find a wonderful variety of patterns printed inside the envelopes. Consequently, industrious Dutch crafters cut printed envelopes into small strips, folded them, and placed them behind different cutout shapes to create art. Today, you can use strips of origami paper, gift wrap, or any other pretty patterned light-weight paper.
Before you begin, download the kite template. (You can find many other templates online if you like this technique.)
Iris Folded Kite Tutorial
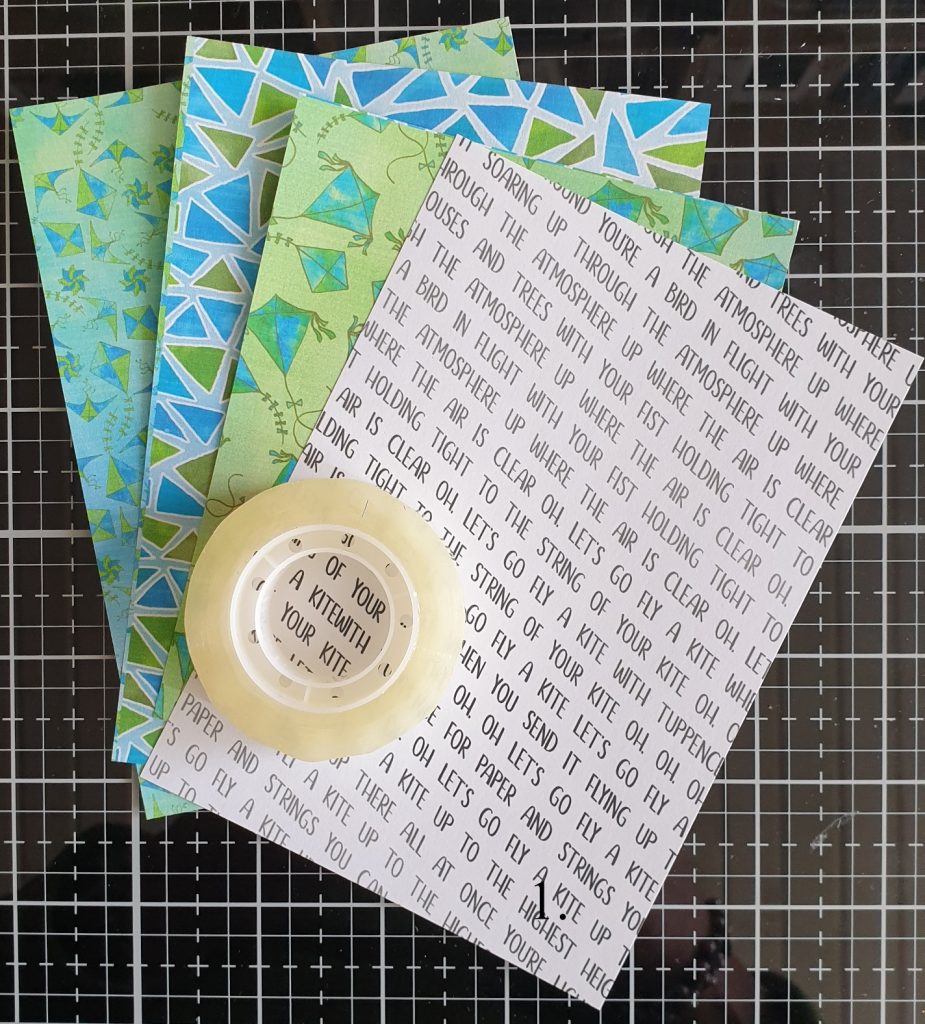
1. Print the quad print file from the Fly A Kite hybrid kit onto light-weight copy paper. Trim into four separate panels.
2. Print the kite template. Use a craft knife to cut out the kite image.
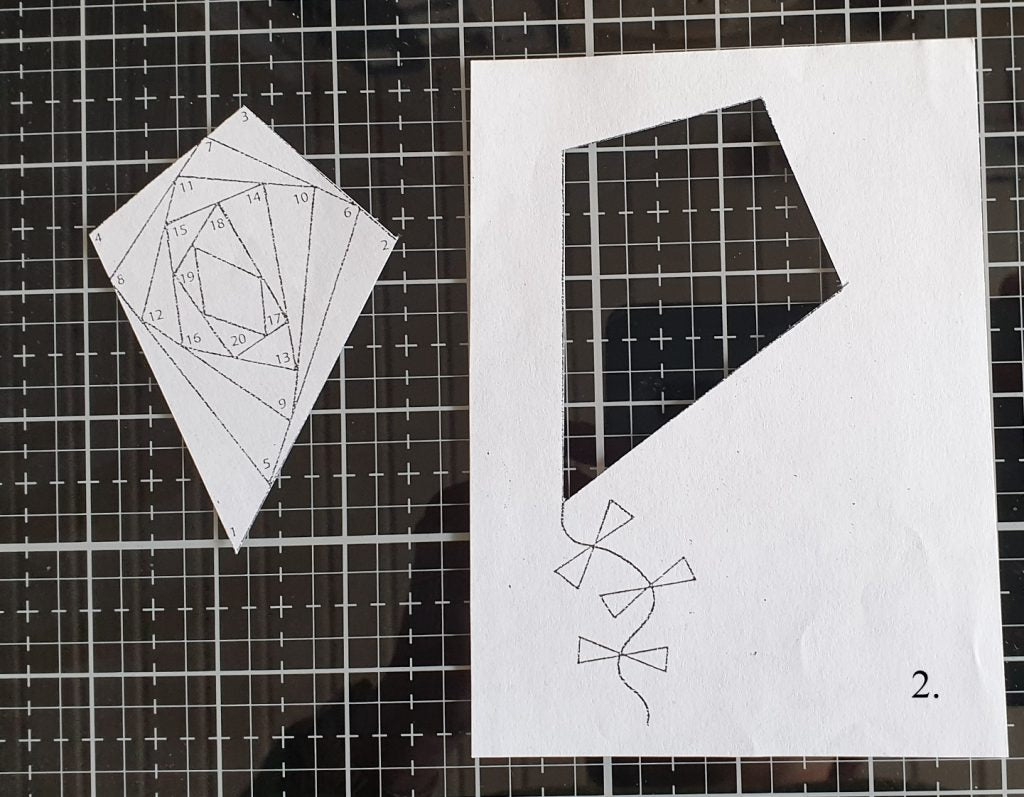
3. Create a card stock panel for your card. Place the kite template onto the plain (or reverse) side of the panel and lightly trace with a pencil. Use a craft knife to cut the shape from the panel to create a "frame".

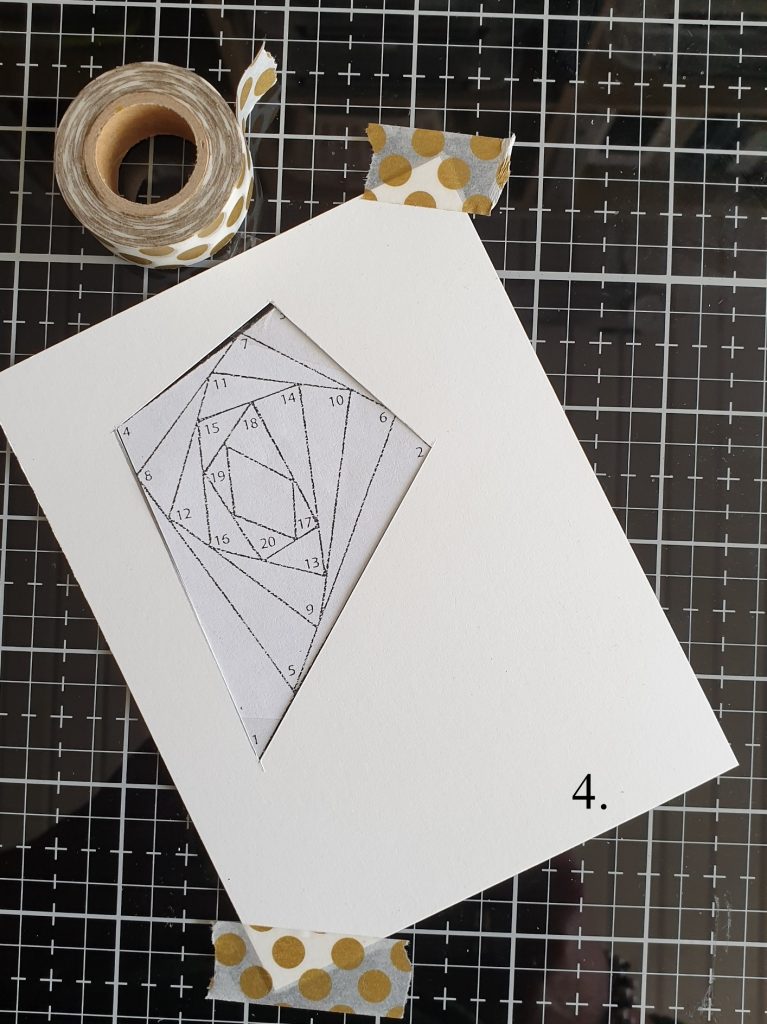
4. Next, adhere the kite template to a non-stick craft sheet or cutting mat. Place the "frame" panel over the template, printed side down. Hold it in place with a bit of washi tape (or other low-tack tape).
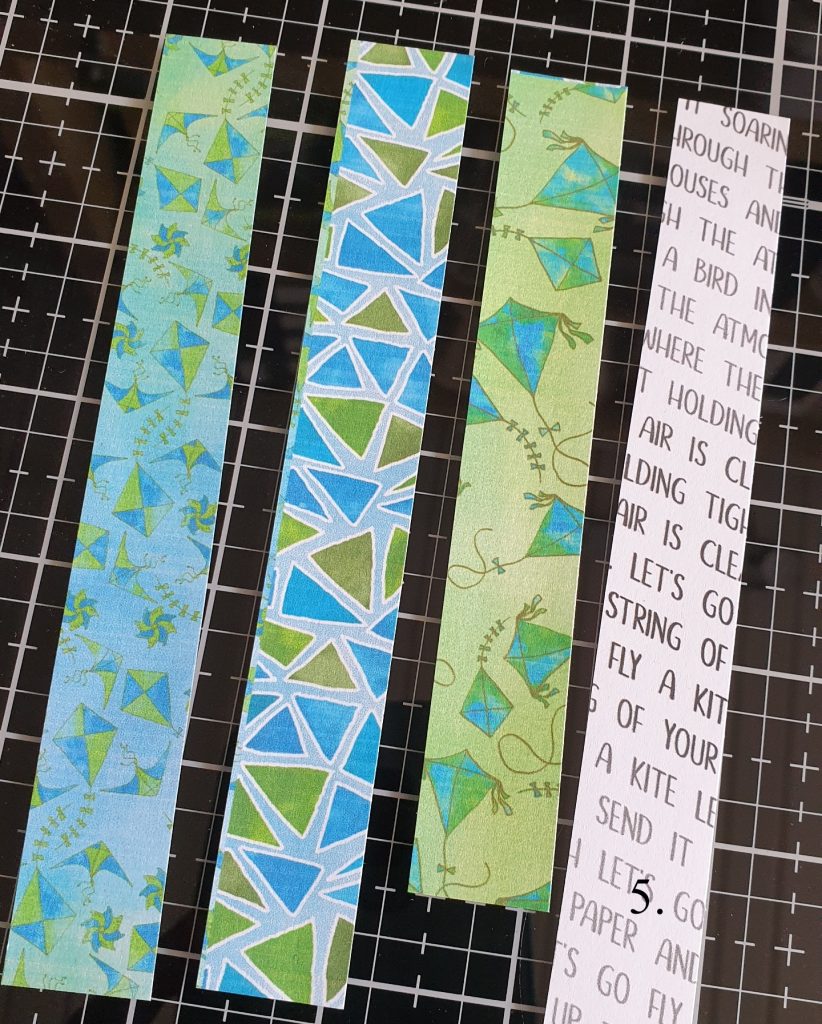
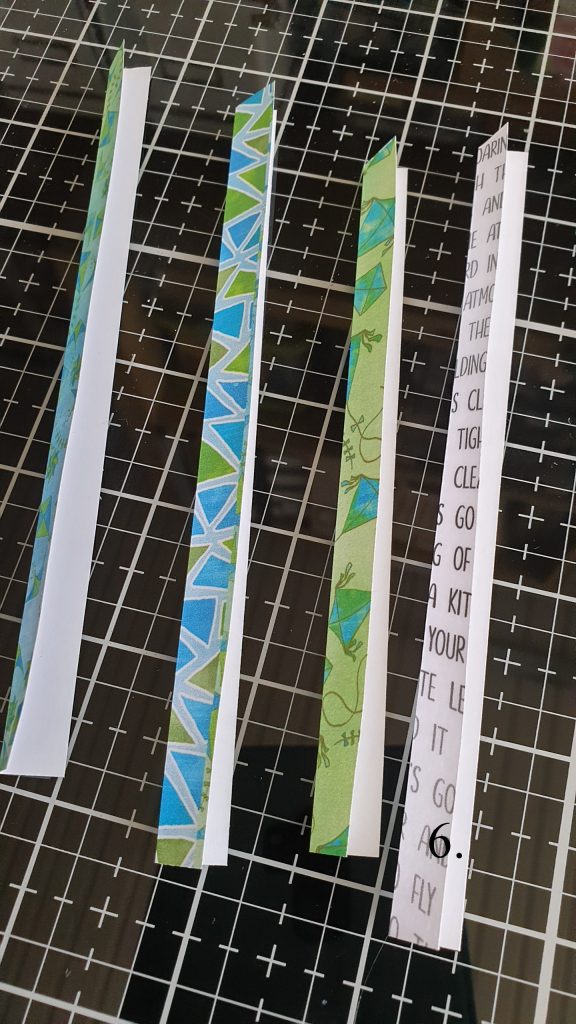
5. Cut 1" wide strips from each of the four printed panels.
6. Fold each 1" strip in half lengthwise.
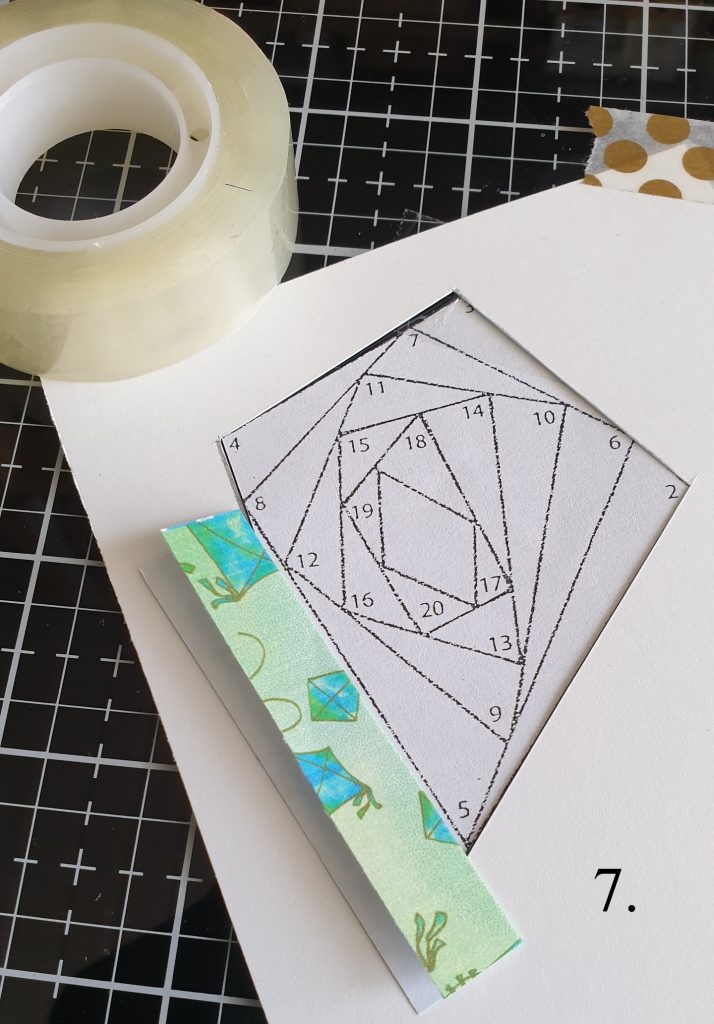
7. You will notice the template has numbers and four "sides". Each side will feature the same colored strip of paper. Begin by choosing your first strip. Place the folded edge along the line of the section marked with a "1". The strip should extend past the framed area of the template. Use permanent tape to adhere both ends to the back of the panel.
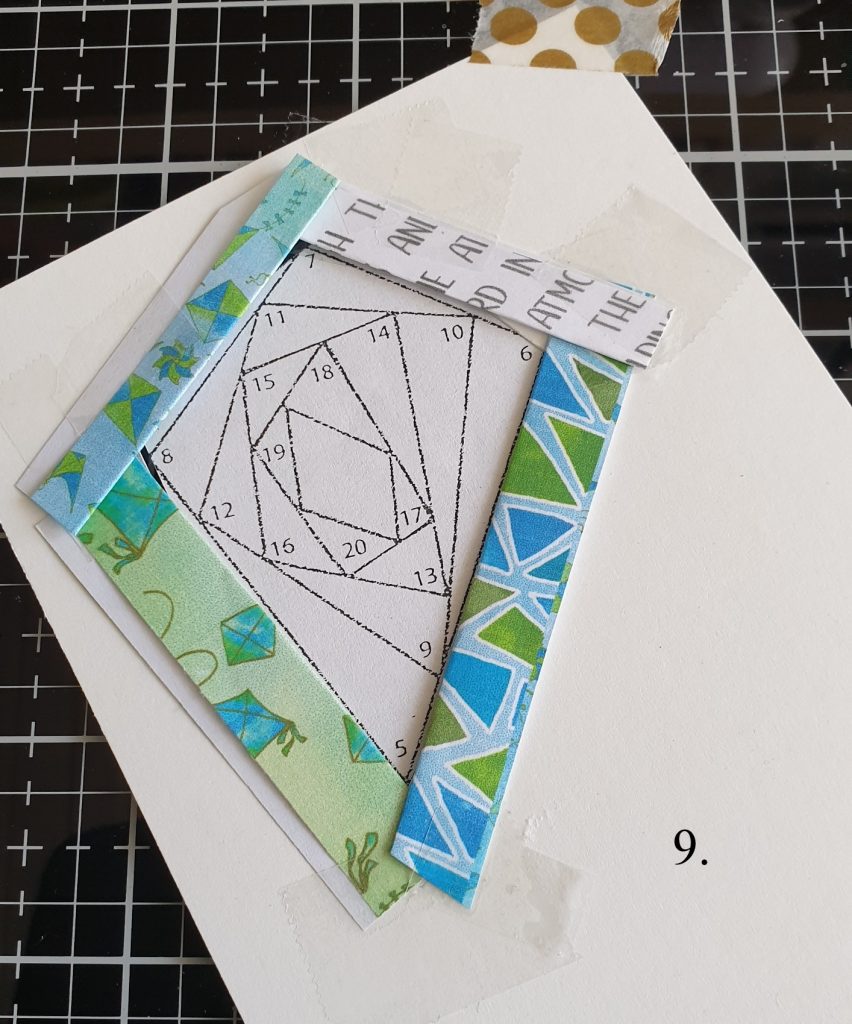
8. Choose a second strip in a different color/pattern. Align the folded edge with the area marked with a "2" and tape it into place.

9. The third strip should be a different color/pattern. Tape into place with the folded edge along the line of the area marked "3". Repeat with the fourth strip (different color/pattern) in the area marked with a "4". You should now have the four patterns represented, one for each "side" of the kite.
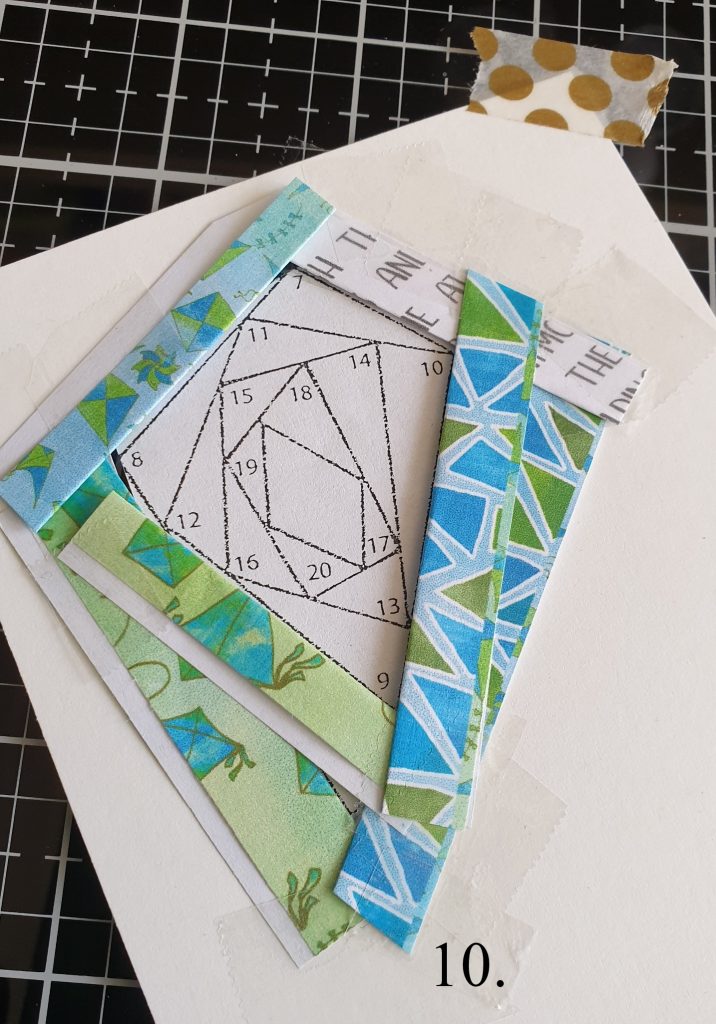
10. Using the same paper used for "1", tape the folded edge in the area marked "5". Continue adding folded strips in the numbered areas; "6" is the same color/pattern as "2", "7" is same as "3", and so on.
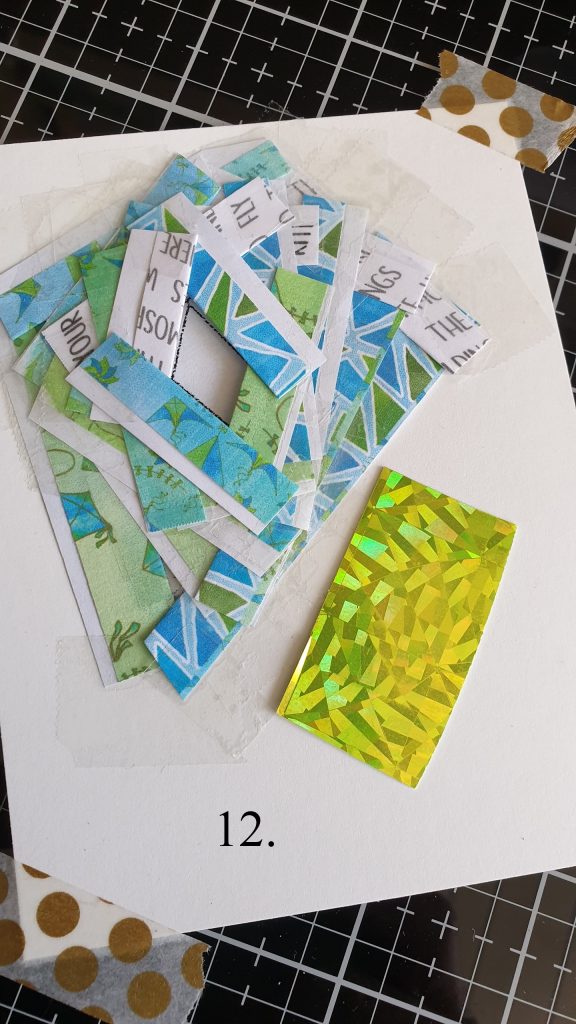
11. Continue taping folded strips over the template until only the very center, or "eye", of the template remains.

12. The "eye" of the kite is covered with a piece of holographic paper. I used yellow, but gold or silver is also an option.
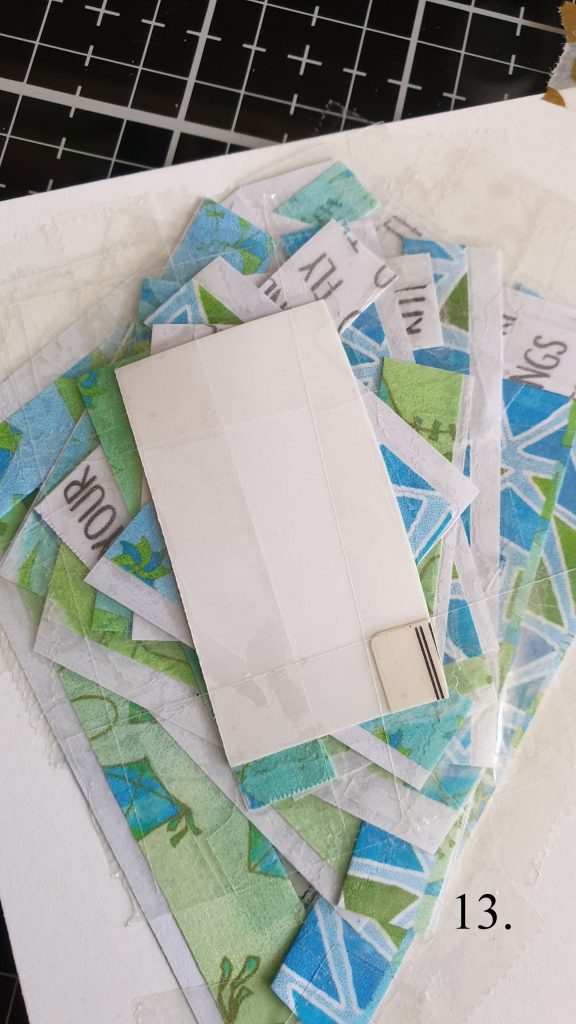
13. Tape the holographic paper on all four sides over the center of the kite.
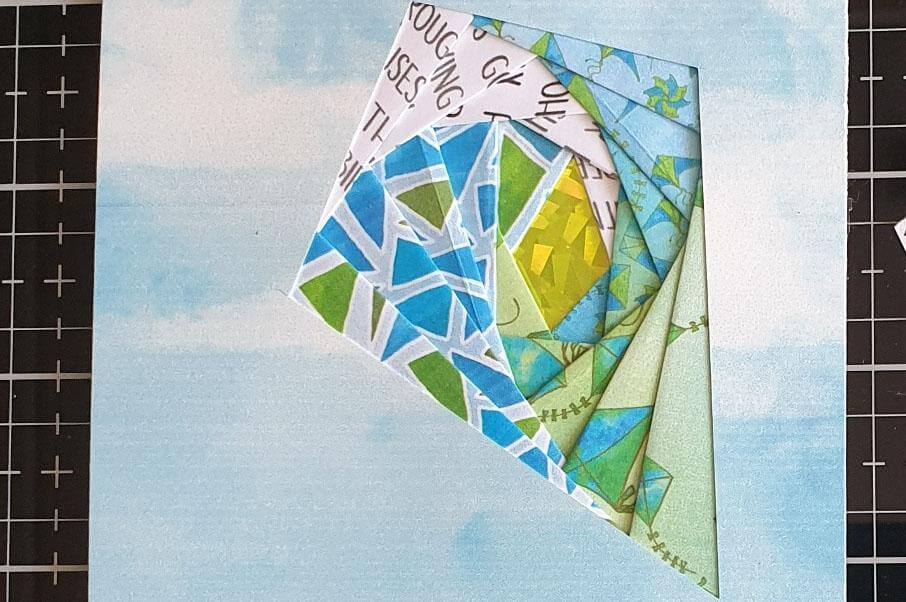
14. Remove the washi tape from the panel and turn it over to reveal a beautiful kite image! (You can see below what happens when the paper doesn't align properly. Because the paper didn't overlap the previous strip, you can see an open space or "black hole".)

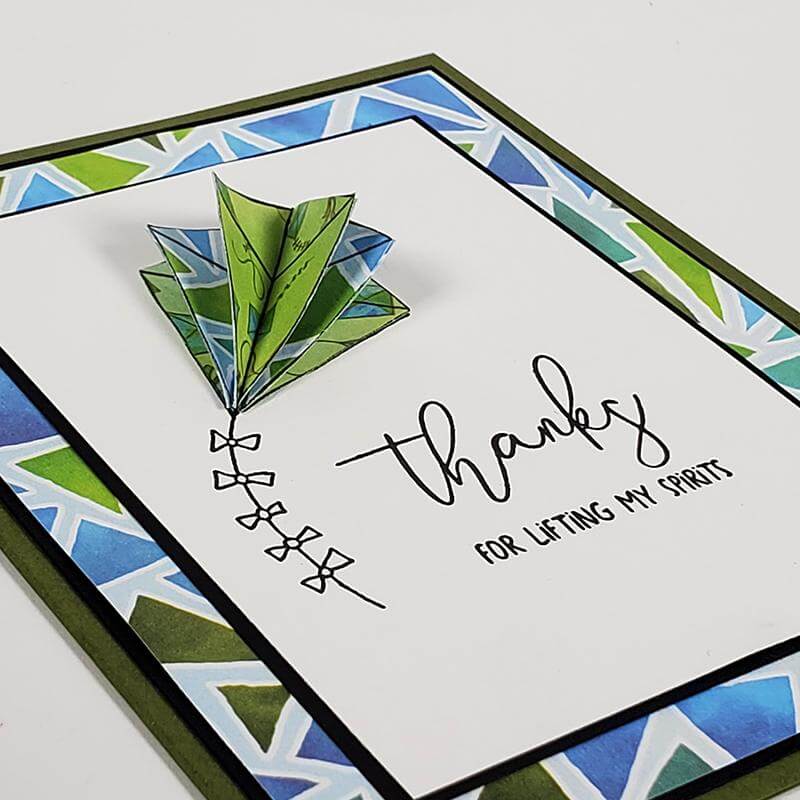
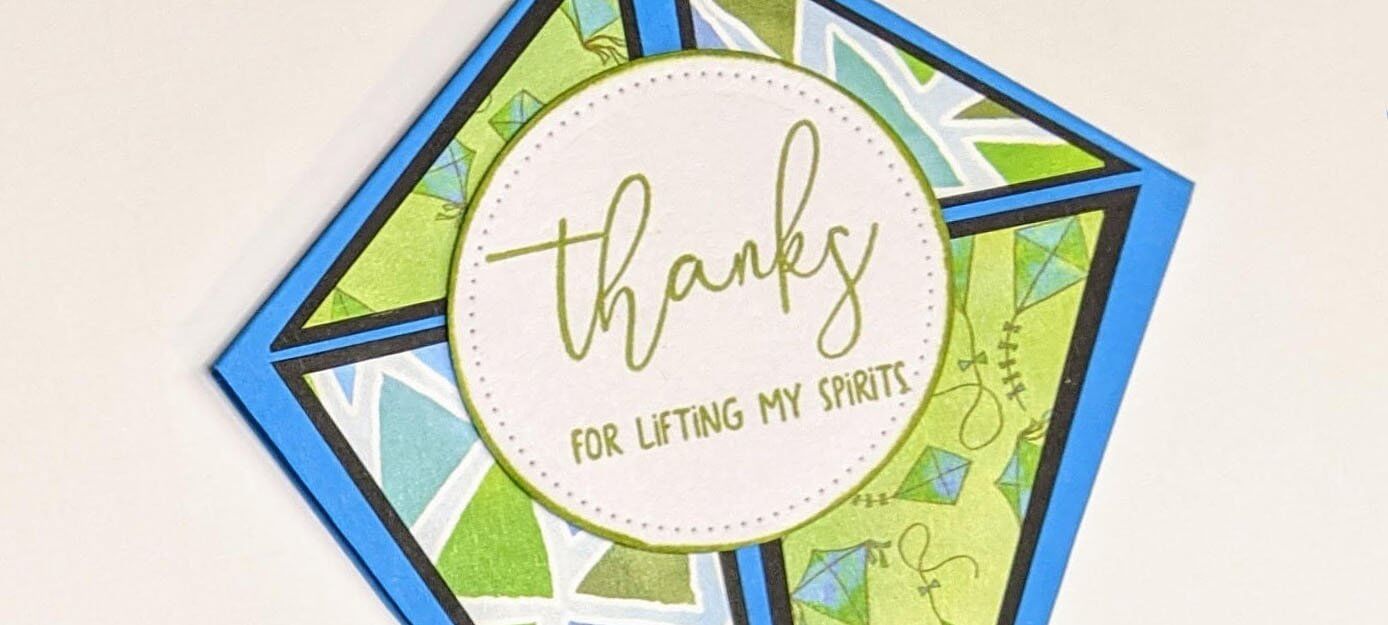
15. Finally, here is the result of your hard work, ready to add to your card!

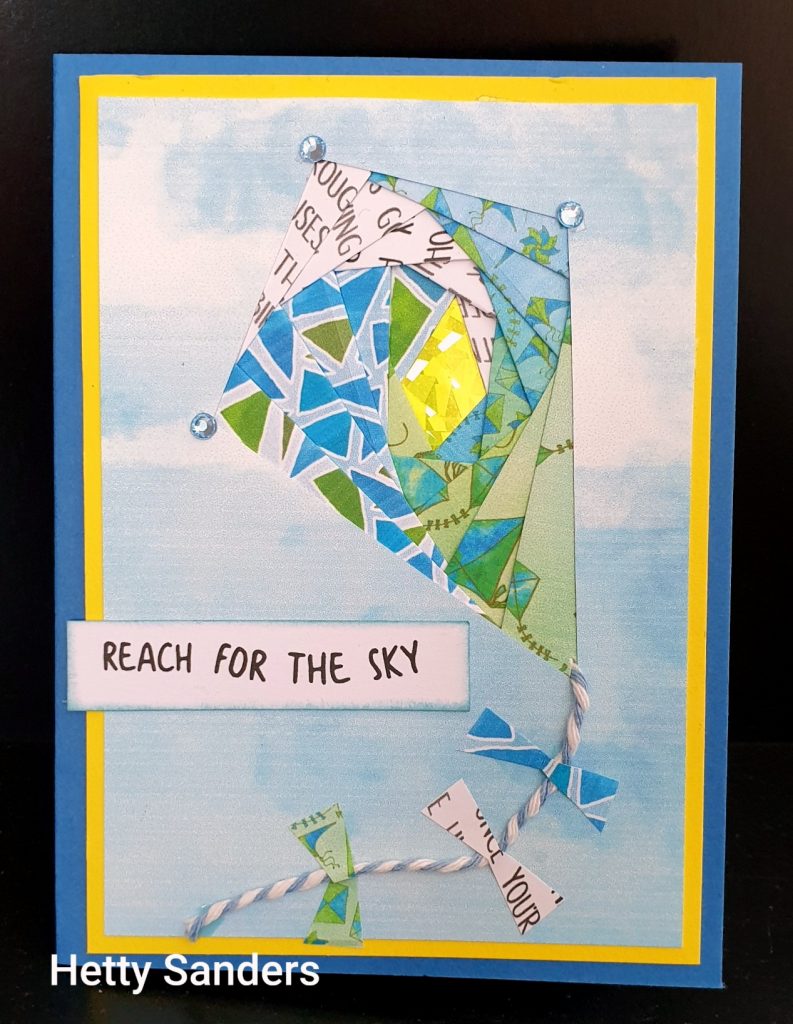
Complete the Card
After your Iris Folded kite is complete, add nesting panels and adhere to a card base. Create a tail for the kite using a length of baker’s twine, topped with bows trimmed from quad print scraps. The sentiment can be stamped, but in this case, it was printed from the hybrid kit and trimmed to fit the front of the card.
I know 15 steps of instructions makes this project seem complicated, but it really is a simple technique once you give it a try. Have fun!
Hetty Sanders